Week 01 Creating a database and a Lightroom catalogue
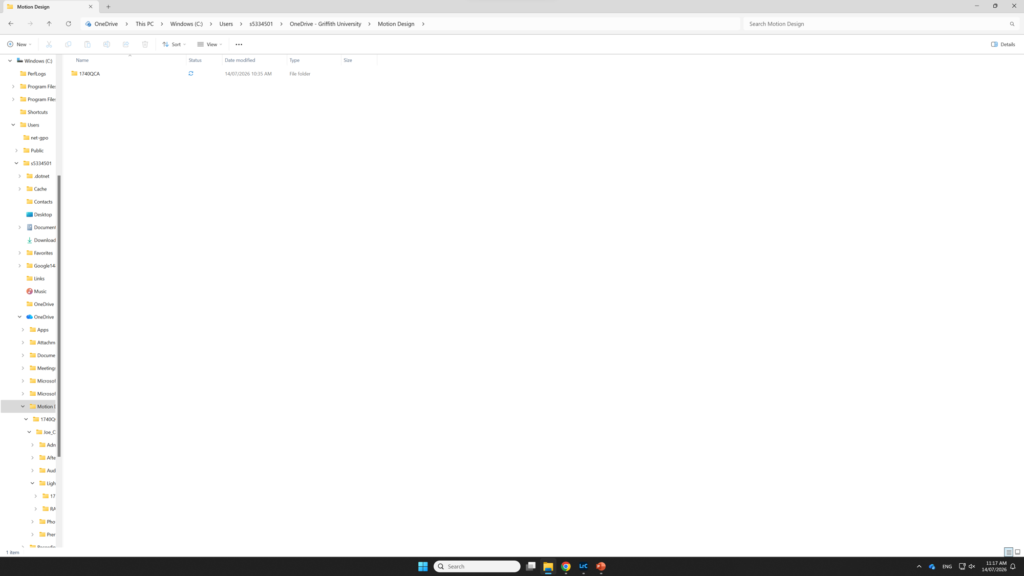
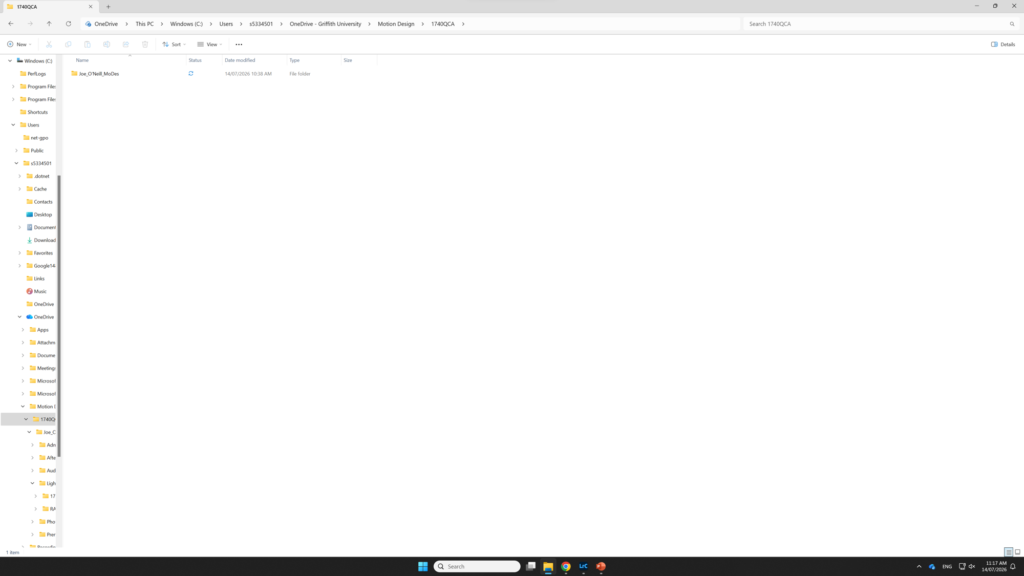
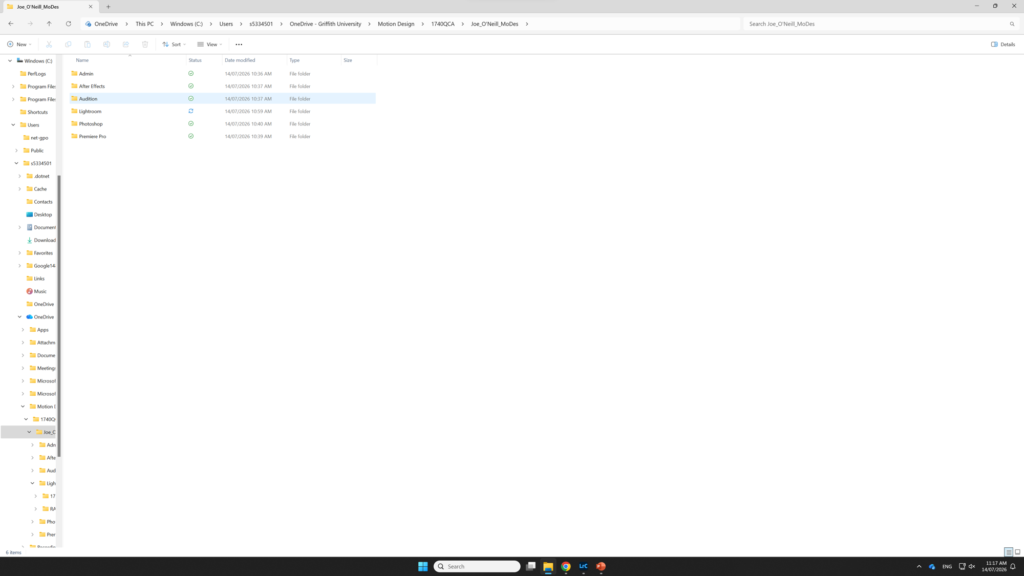
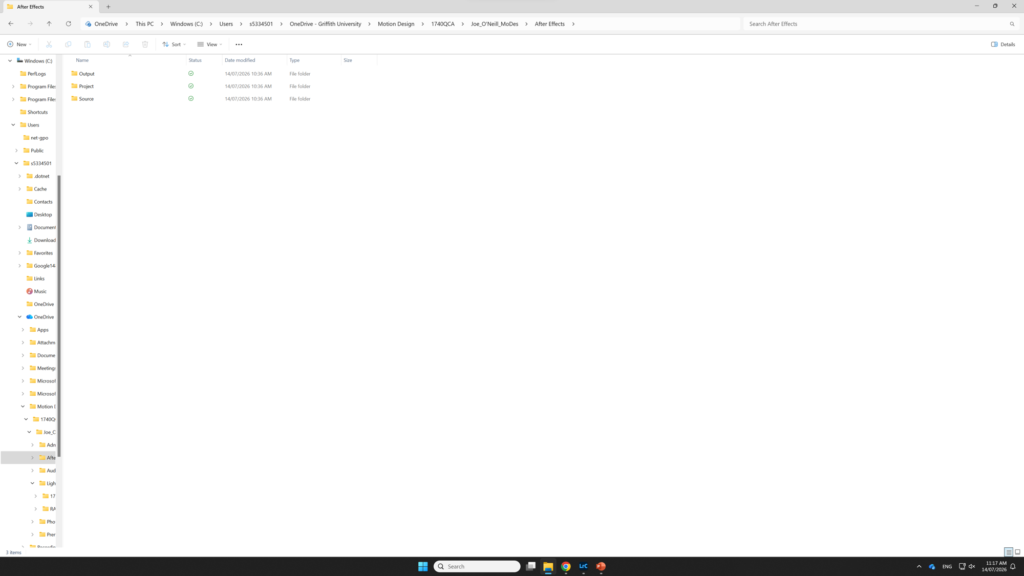
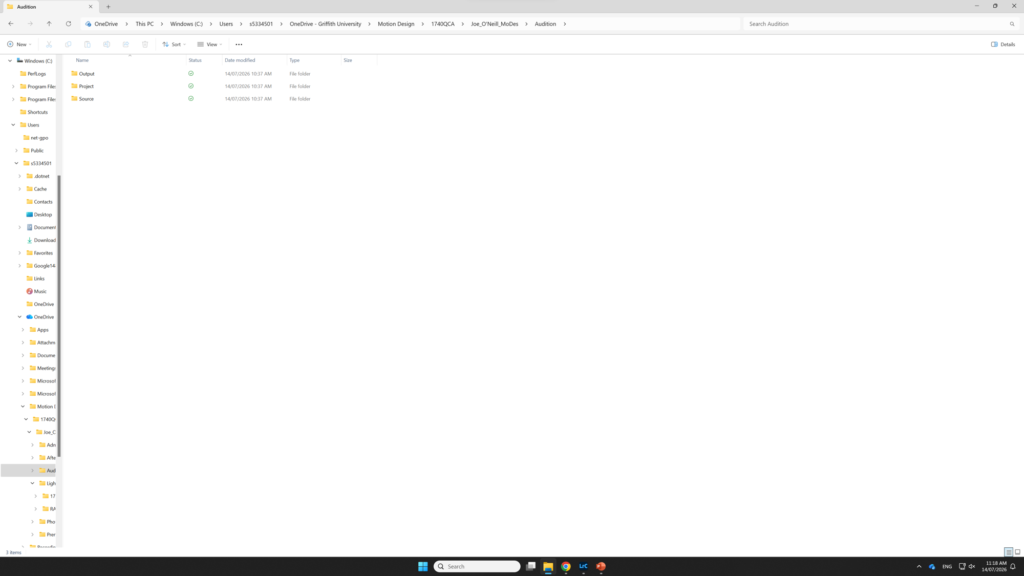
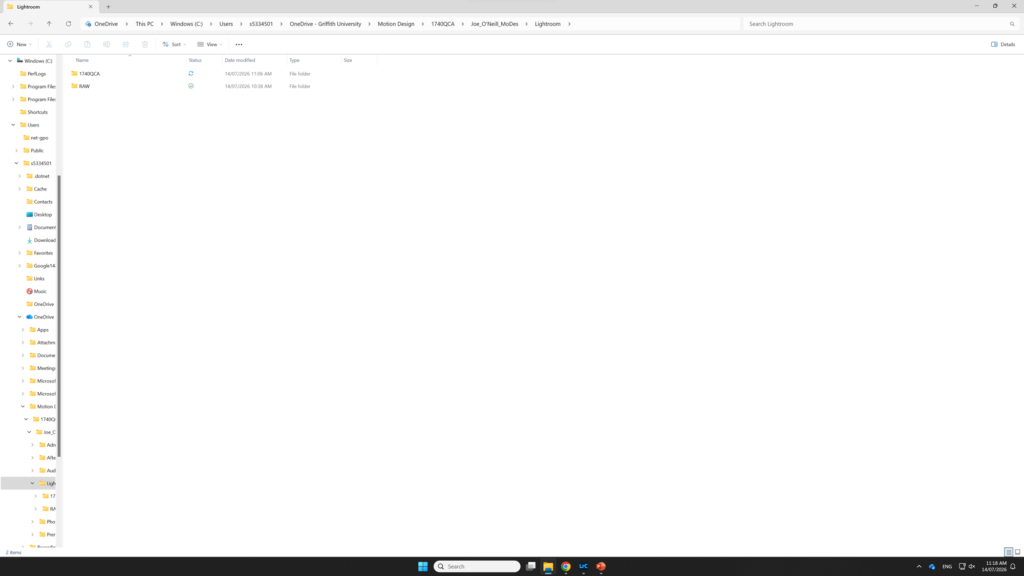
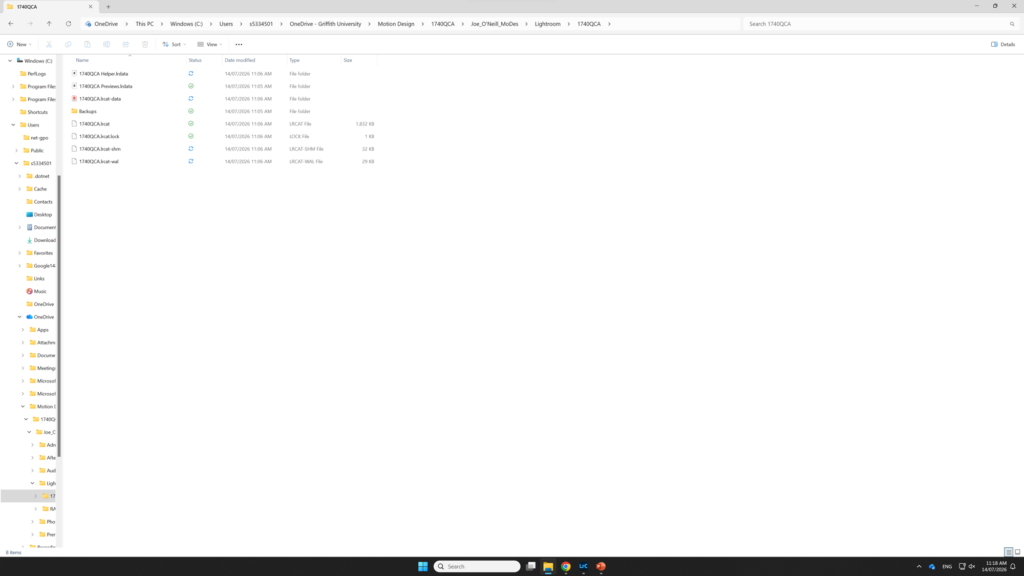
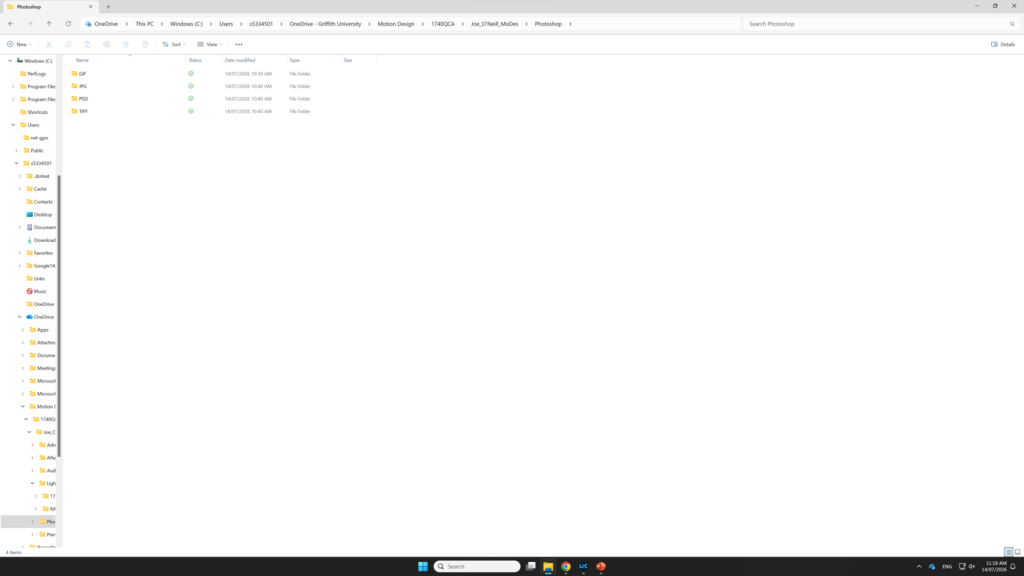
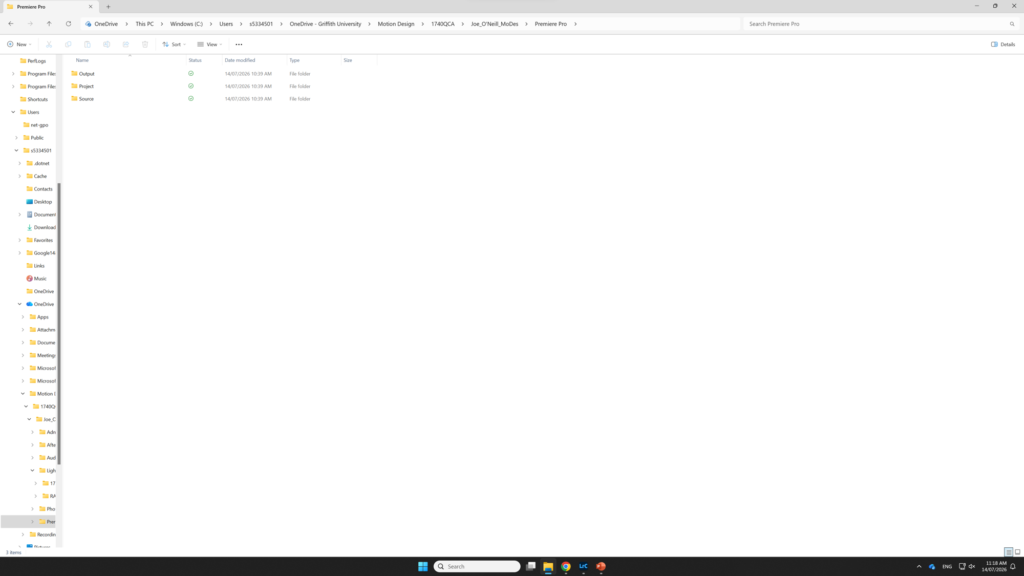
Creating the image databaseCreating folders for each software application Creating sub-folders inside application foldersFolders generated by lightroom after creating a catalogue file More sub-folder creation
Week 02 RAW Image capture and processing in Lightroom Classic
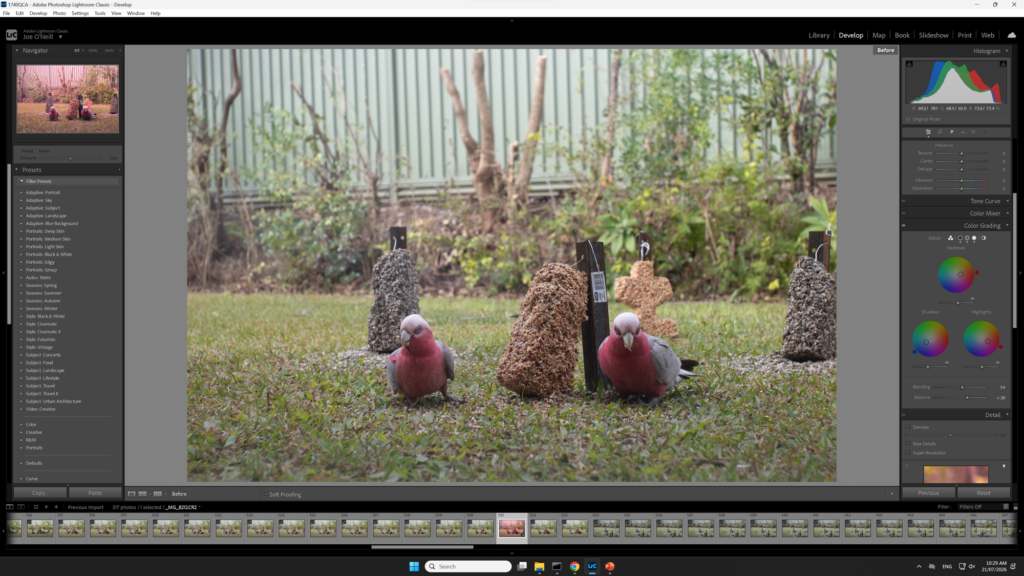
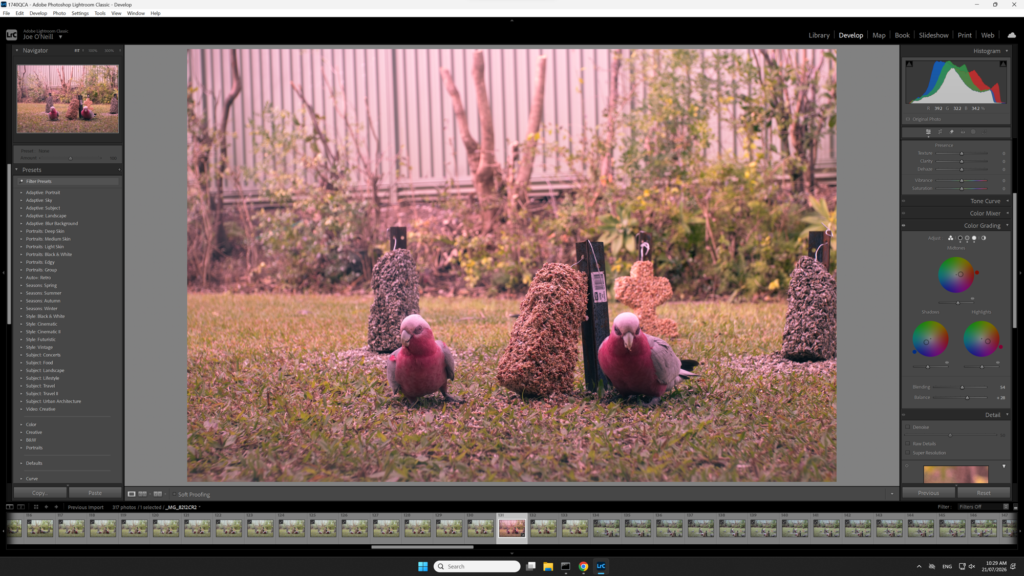
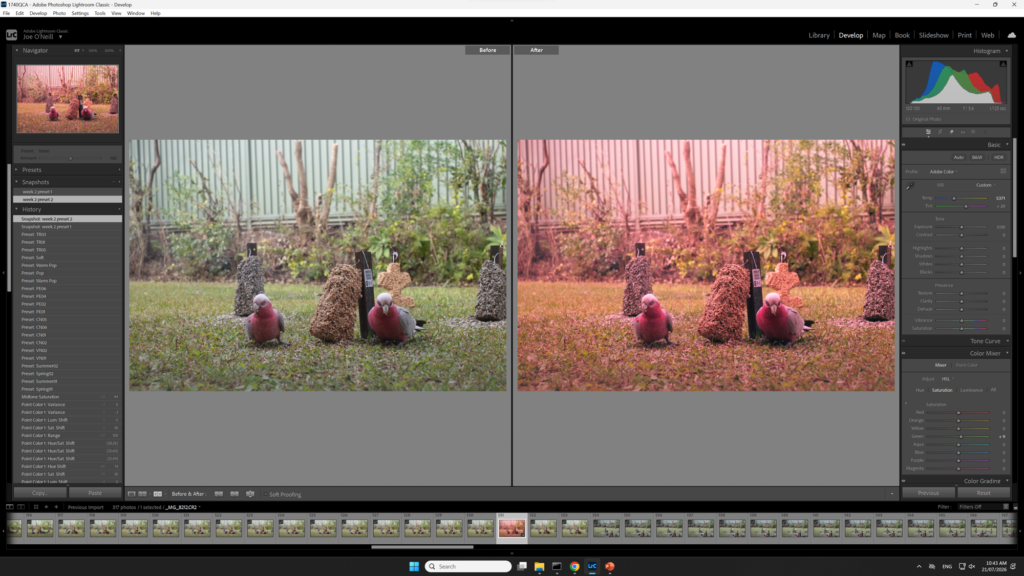
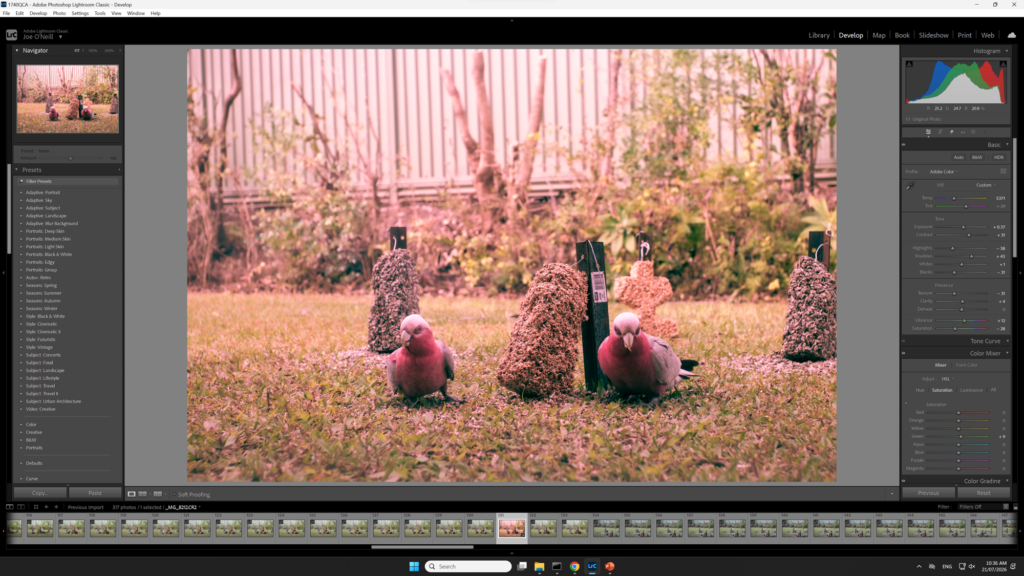
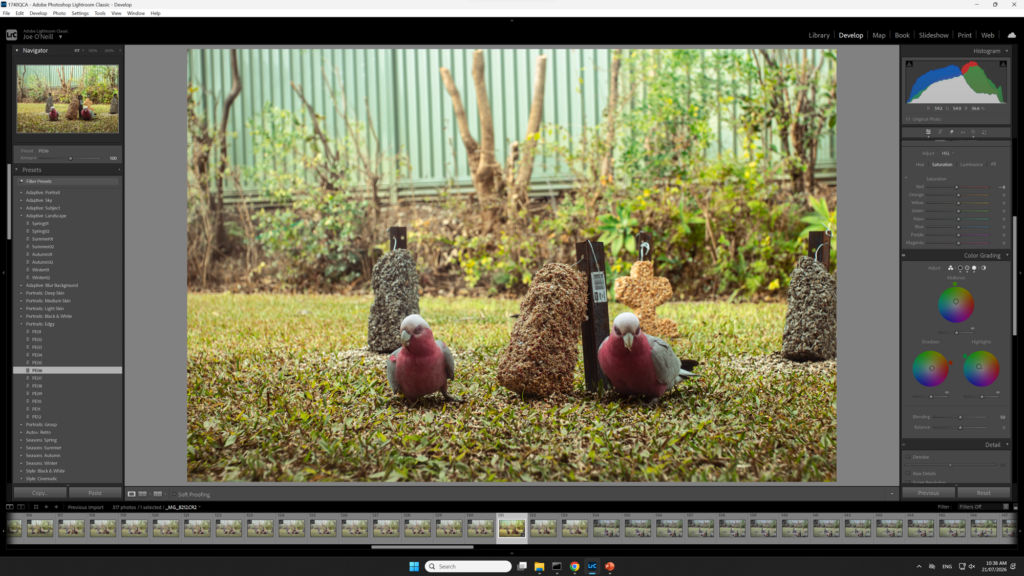
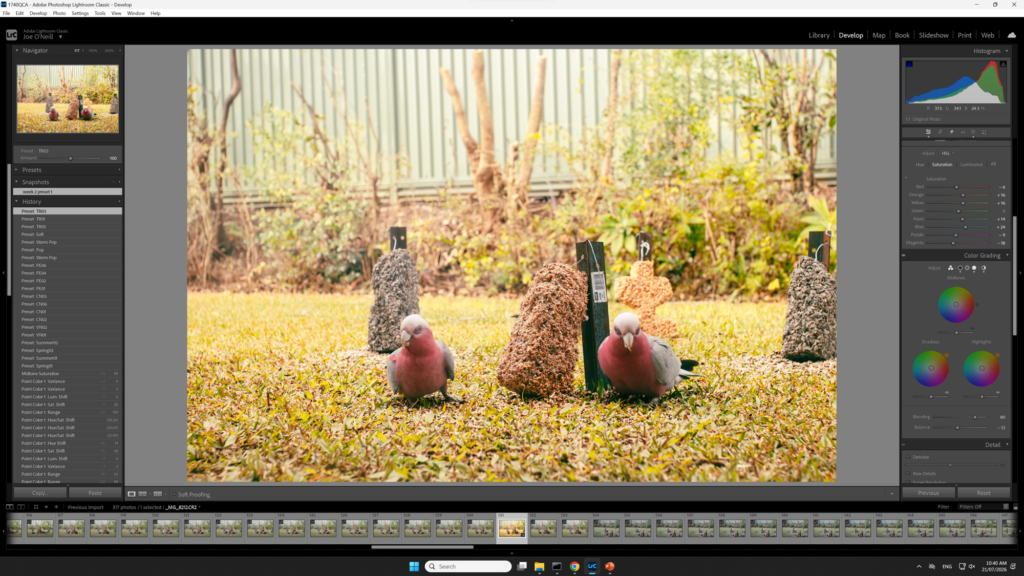
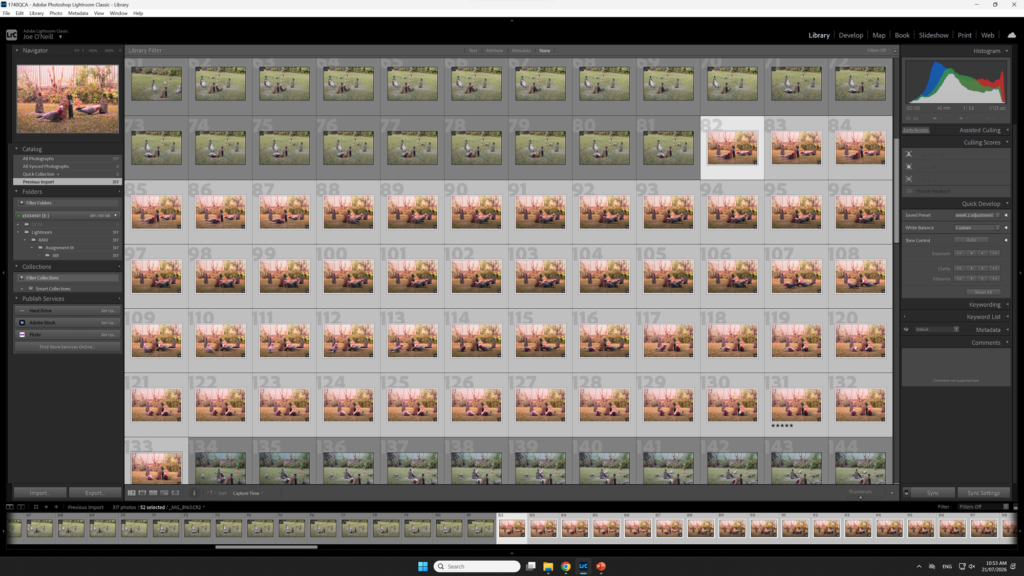
RAW photos in lightroom after being importedExperimentation with colour grading in lightroomUsing lightroom’s before and after tool to compare the colour grading changesExperimentation with presetsFurther experimentation with presets
Week 03 Compositing in Photoshop
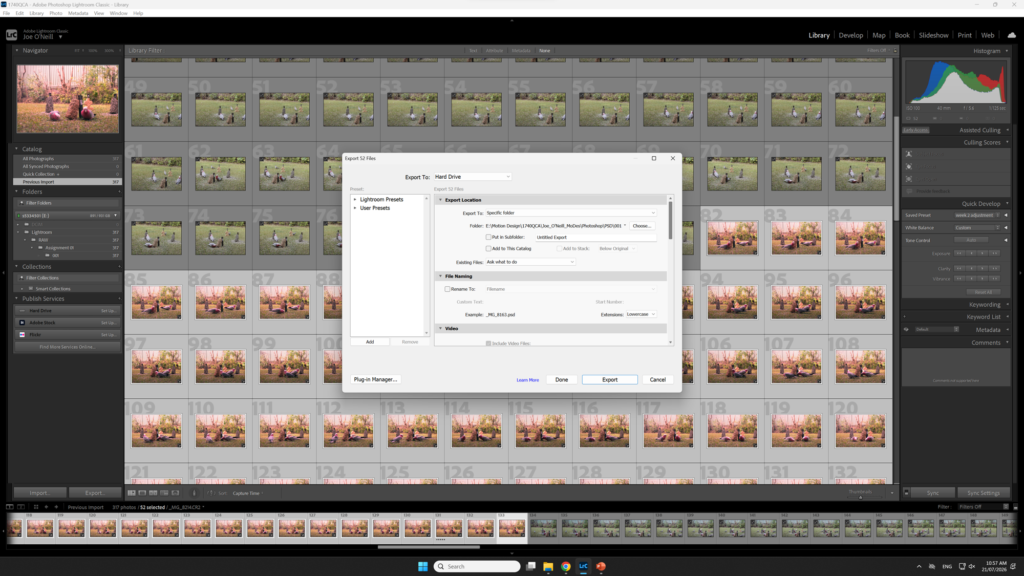
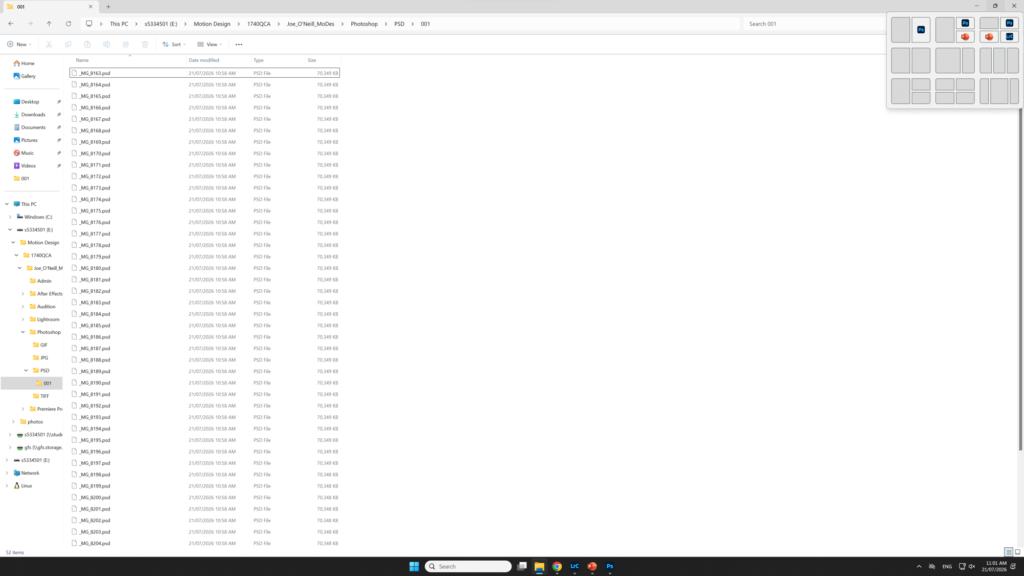
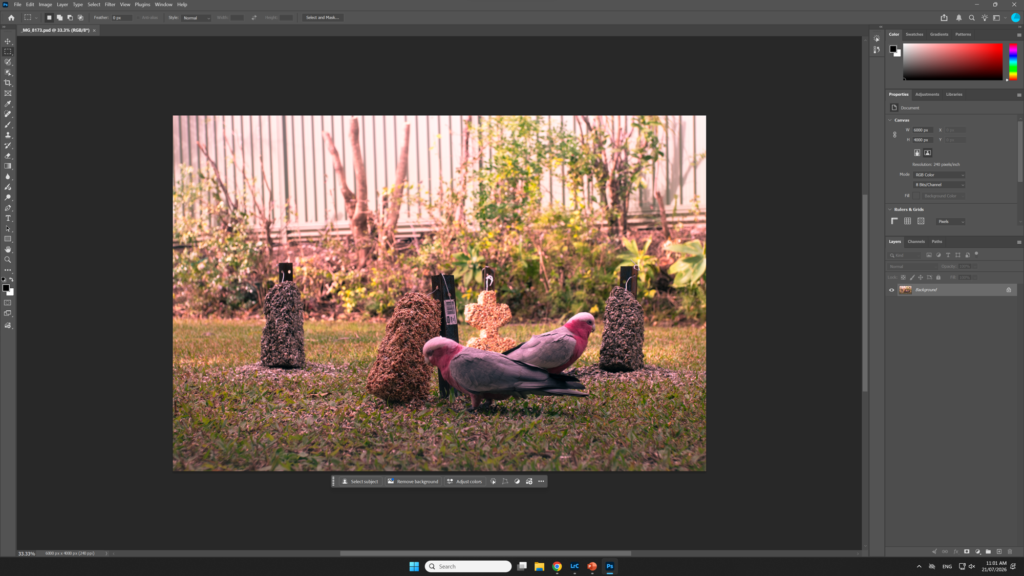
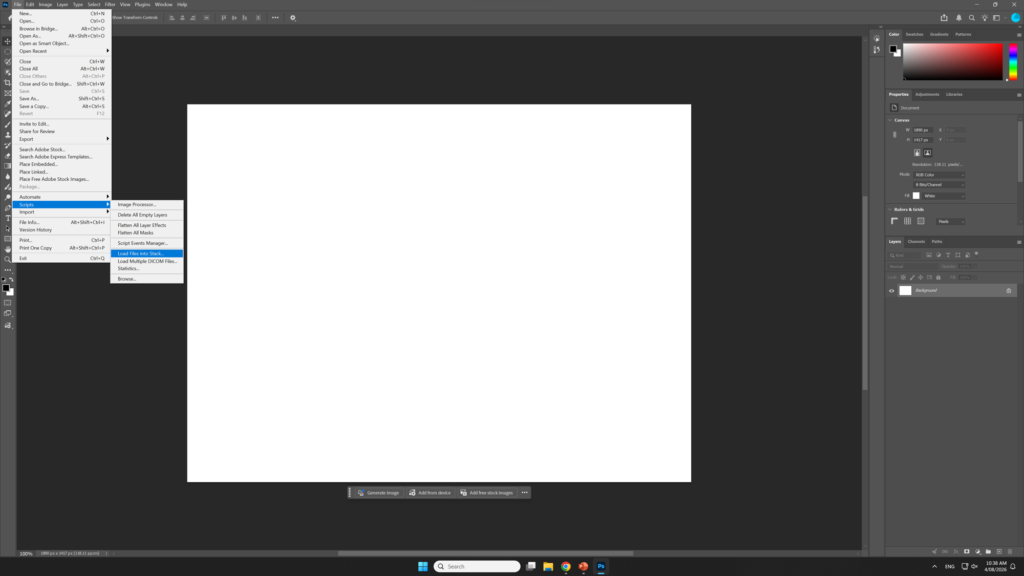
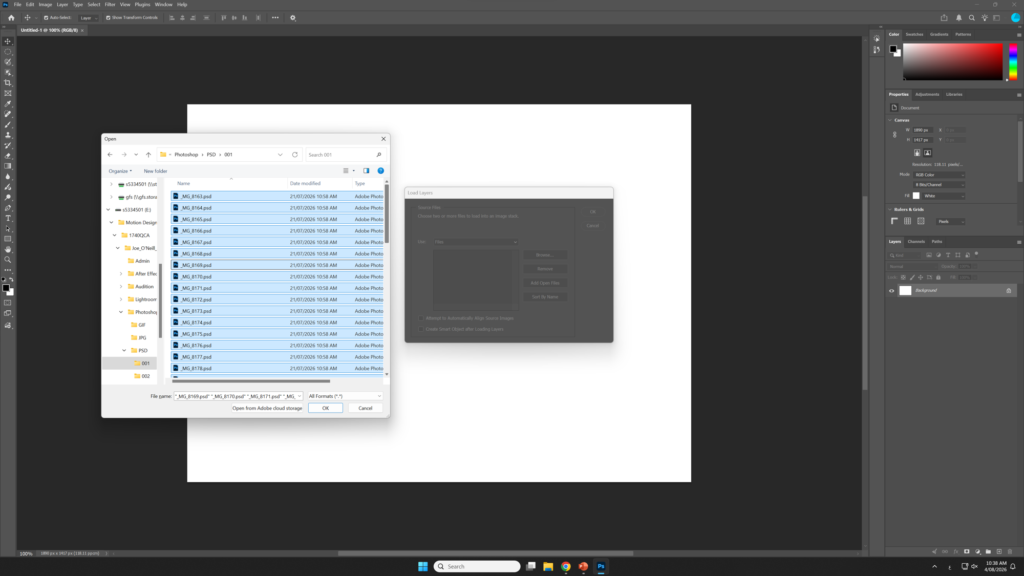
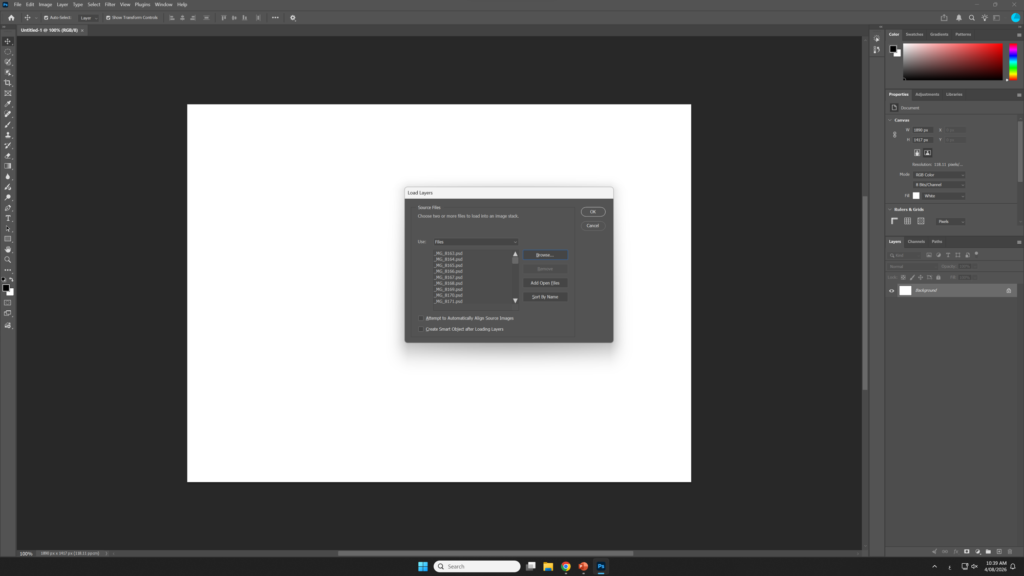
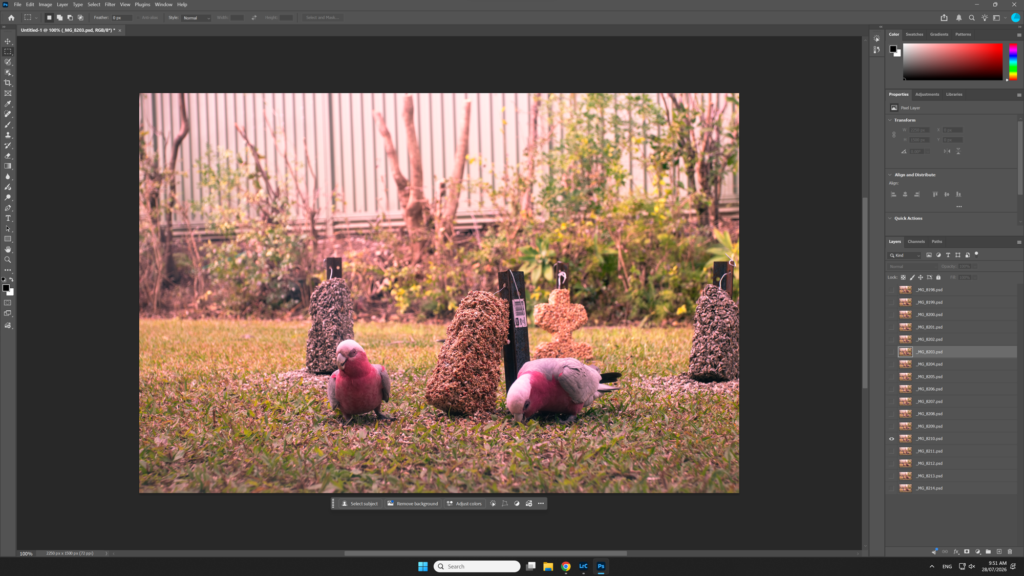
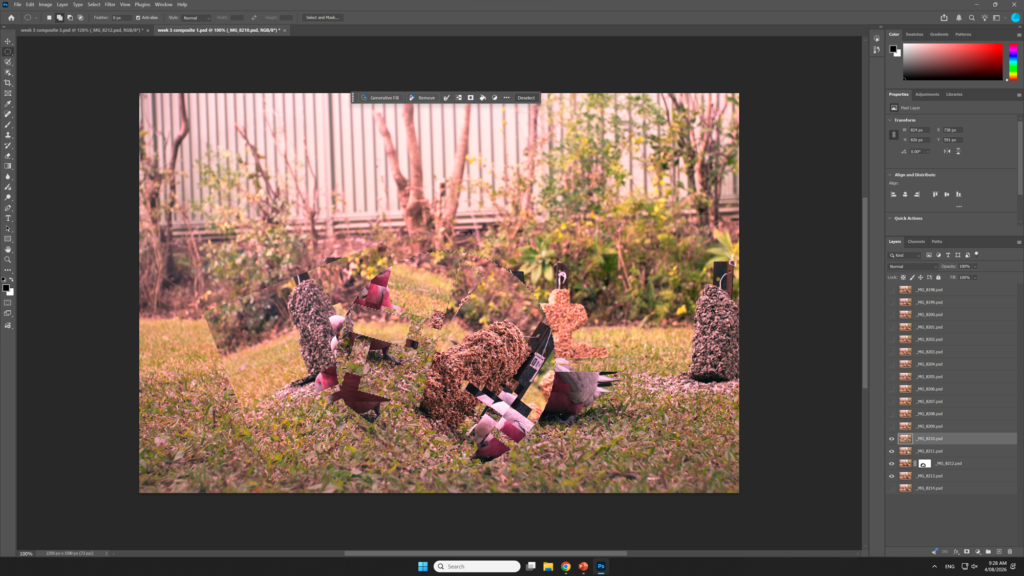
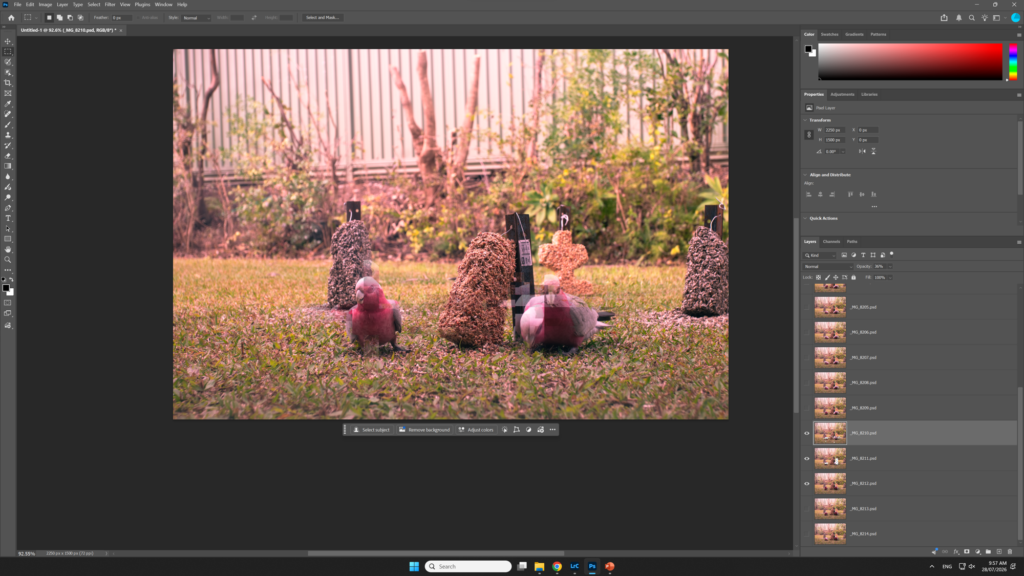
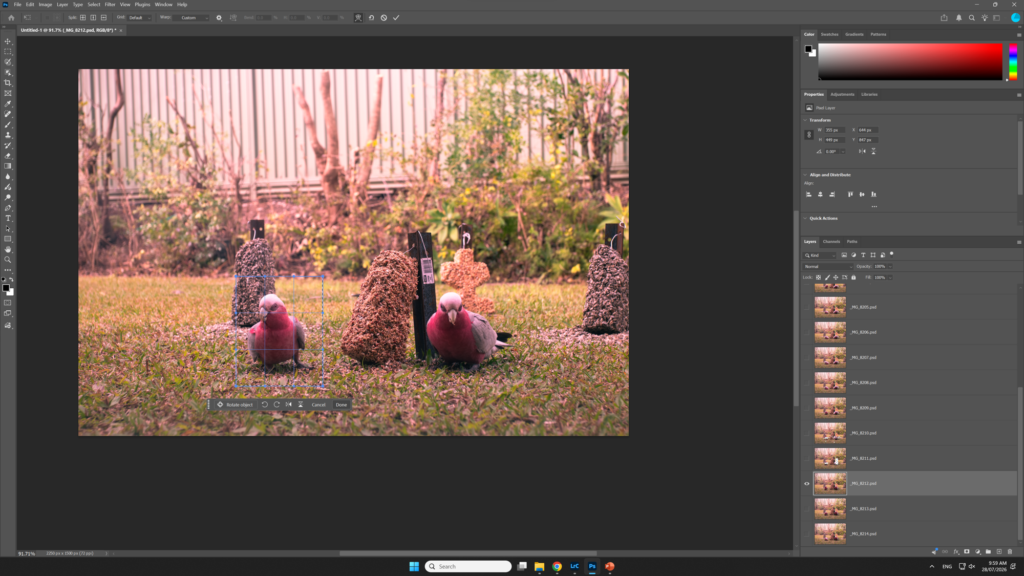
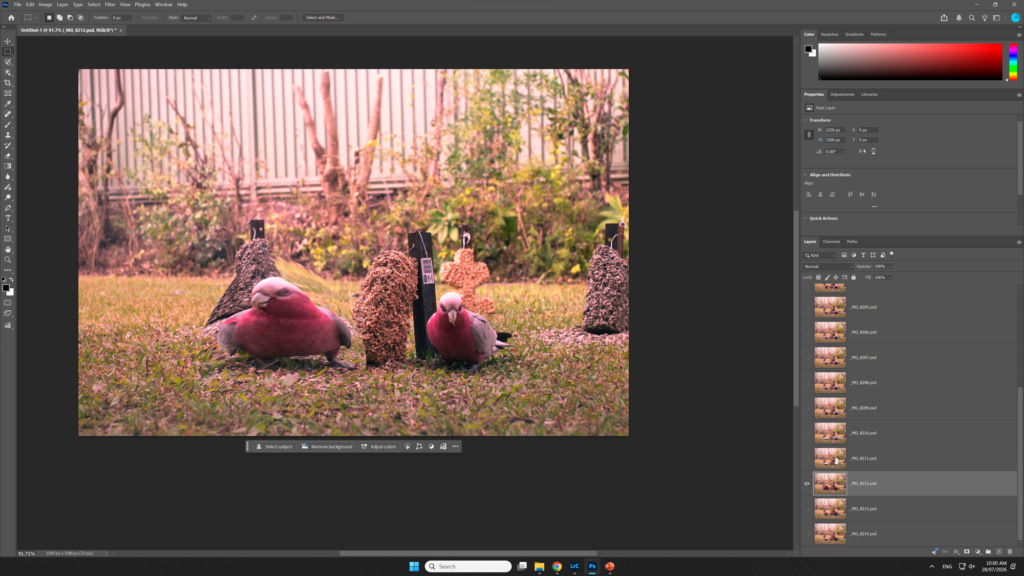
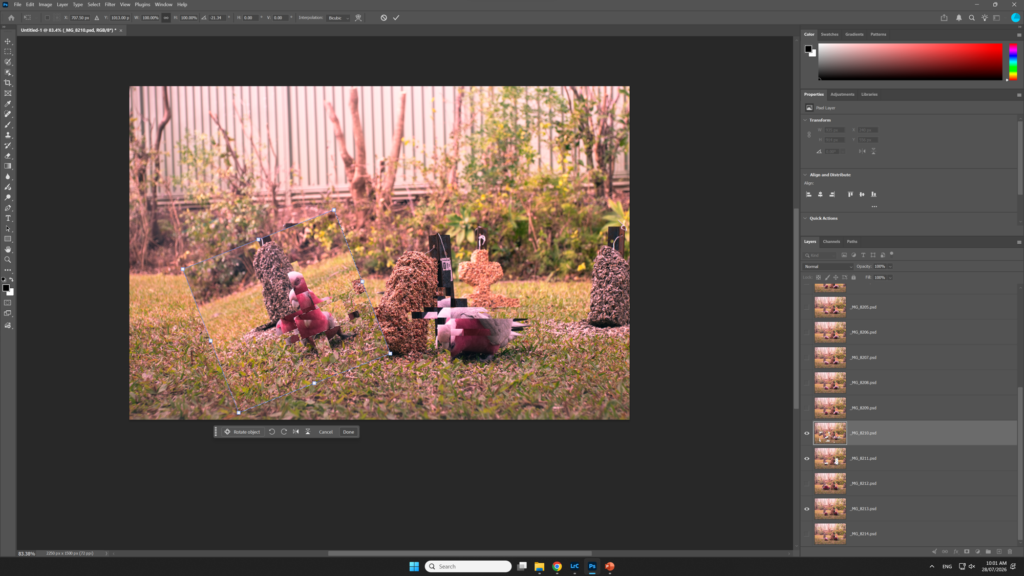
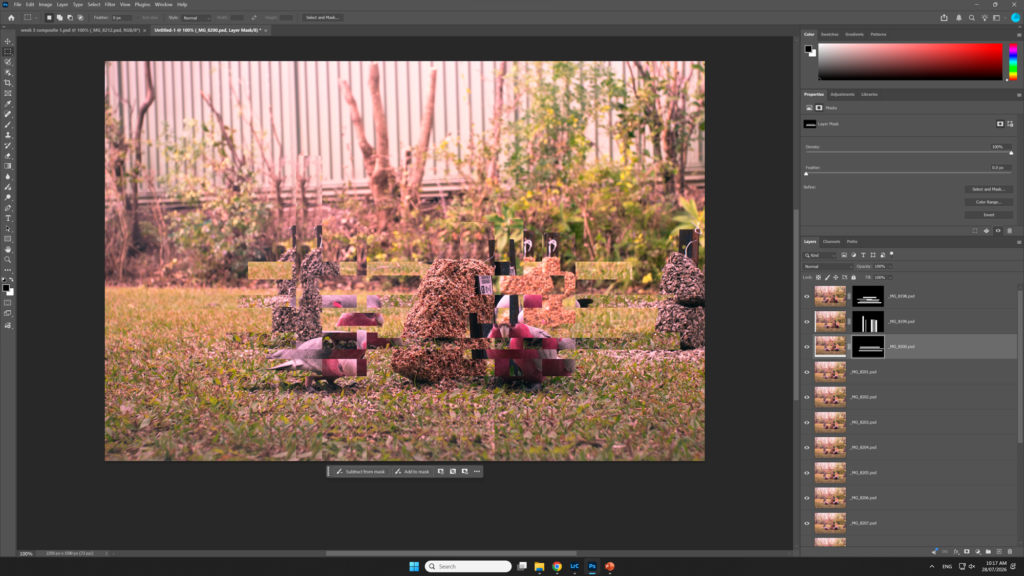
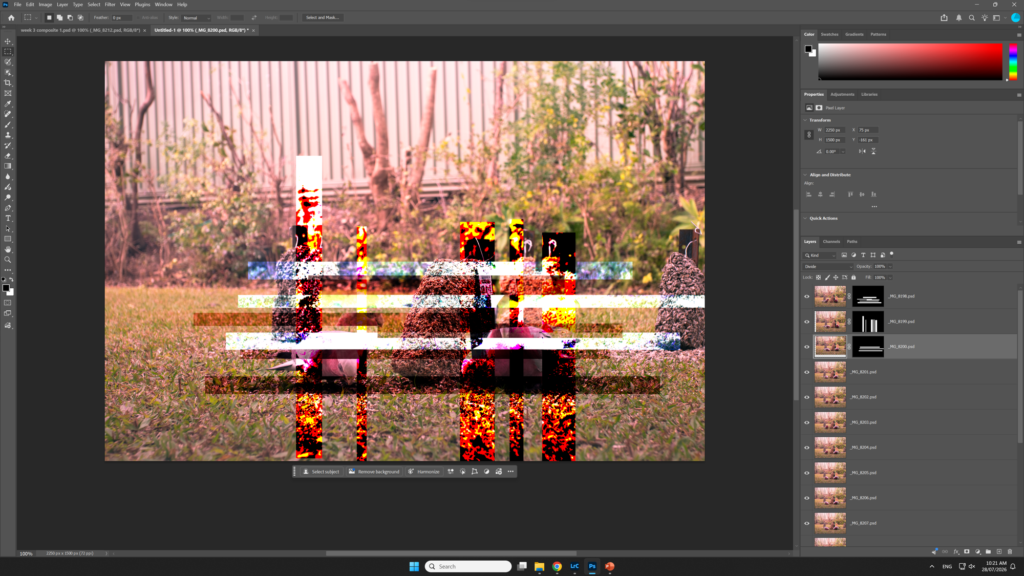
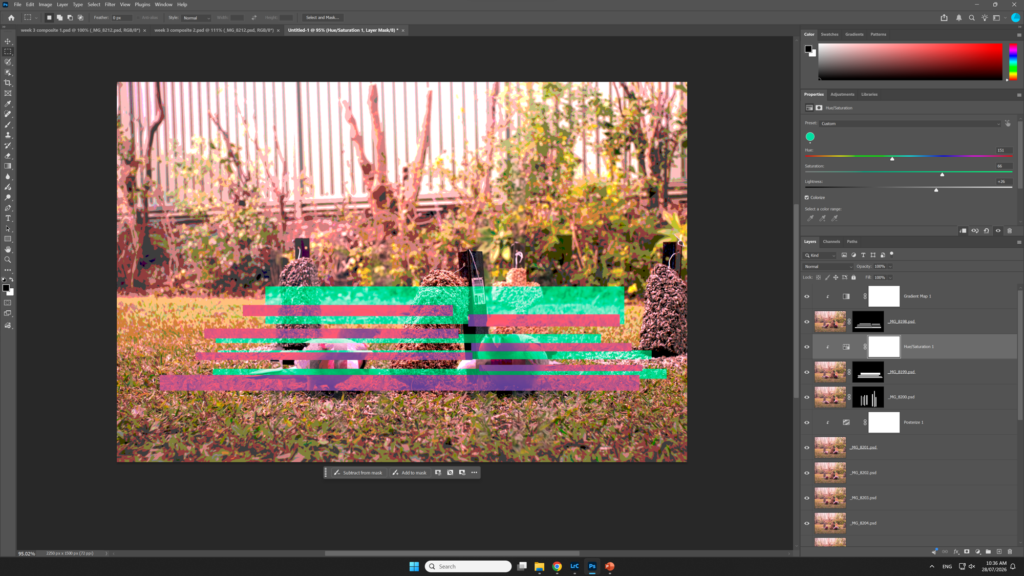
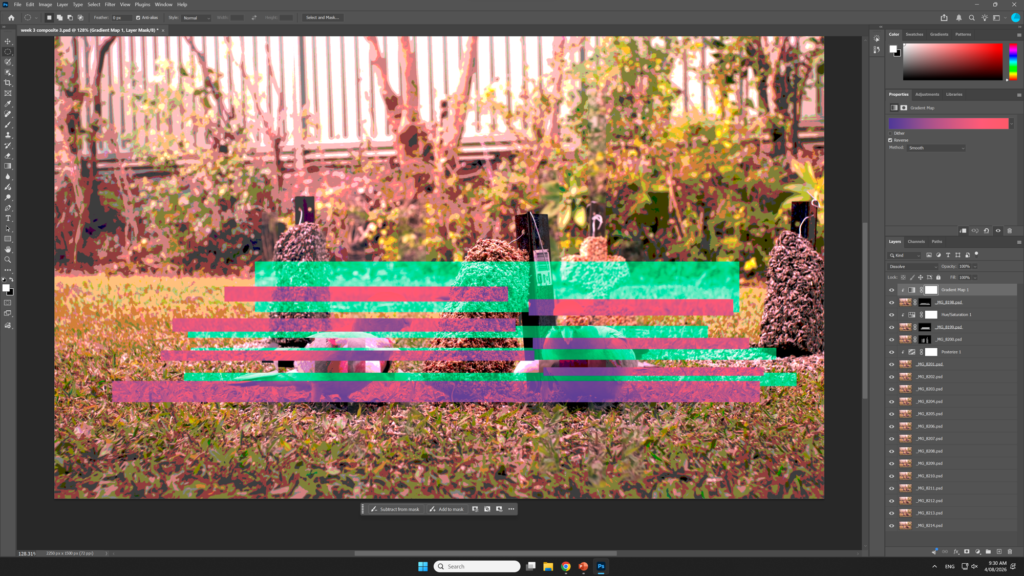
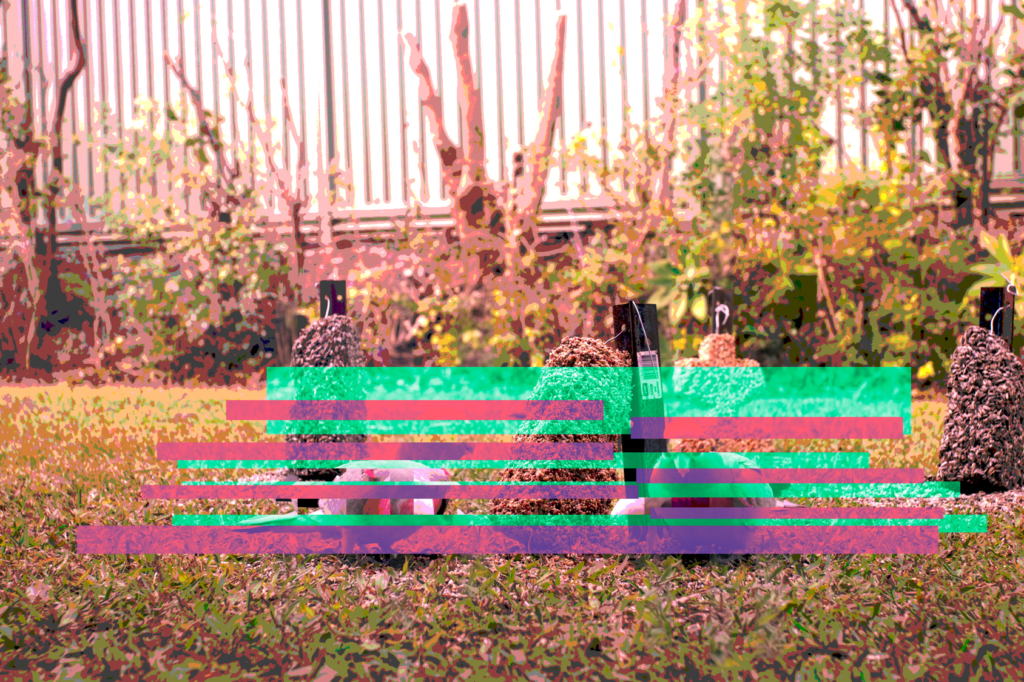
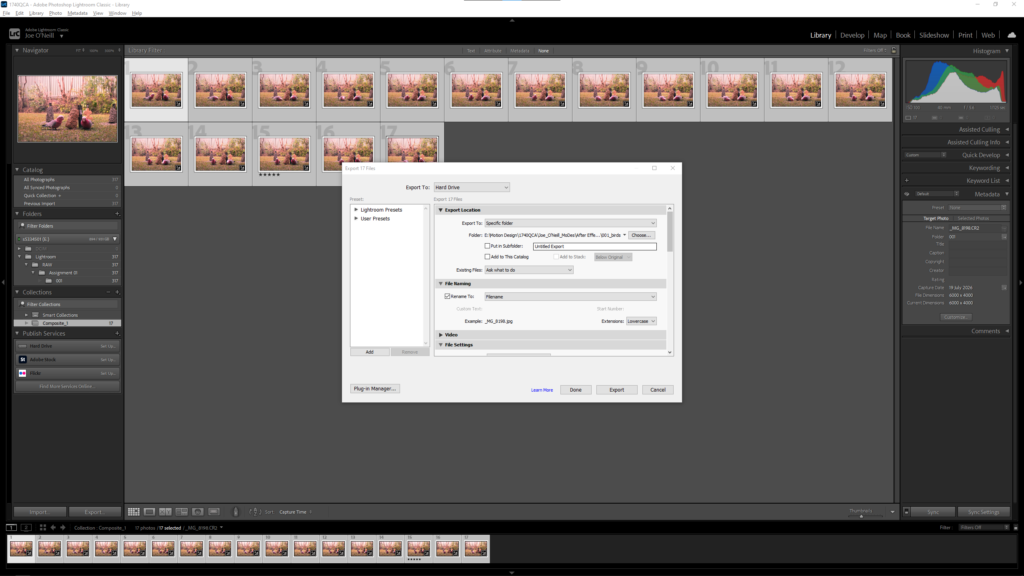
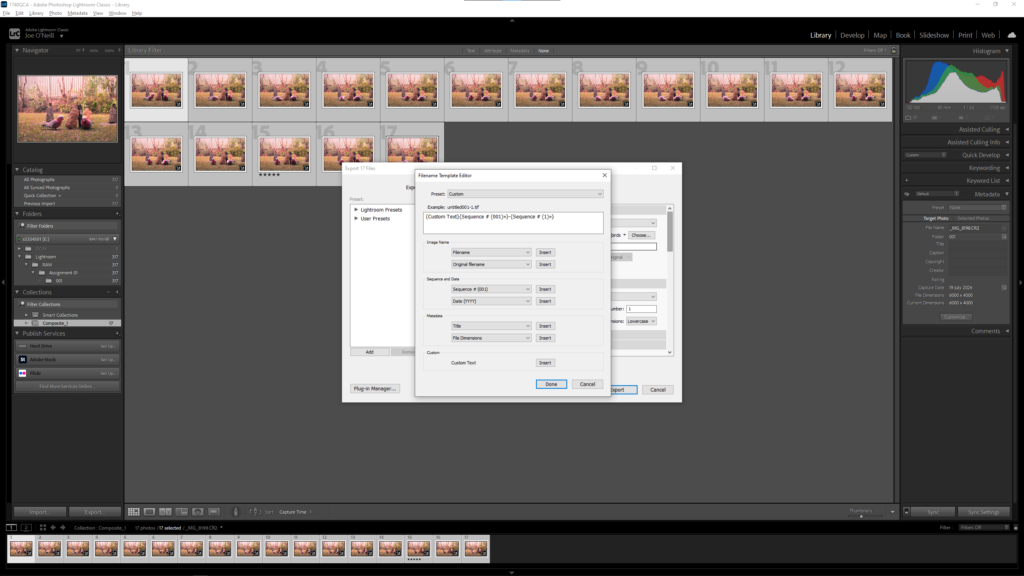
Selecting photos to be exportedExporting the photos as PSDsExported PSD filesOpening one of the files in photoshopLoading the PSD files as an image stack into photoshop so that they can all be edited in one documentThe PSD files imported as a stackExperimentation with the transform and marquee toolsExperimenting with opacityExperimenting with the warp toolExperimentation with deleting pixels and using the transform tool.Experimenting with the layer mask tool in photoshopExperimenting with applying blending modes to the images Using the hue and saturation adjustment layerApplying a gradient mapThe final result of the experiments in photoshop
Week 04 GIF animations in Photoshop
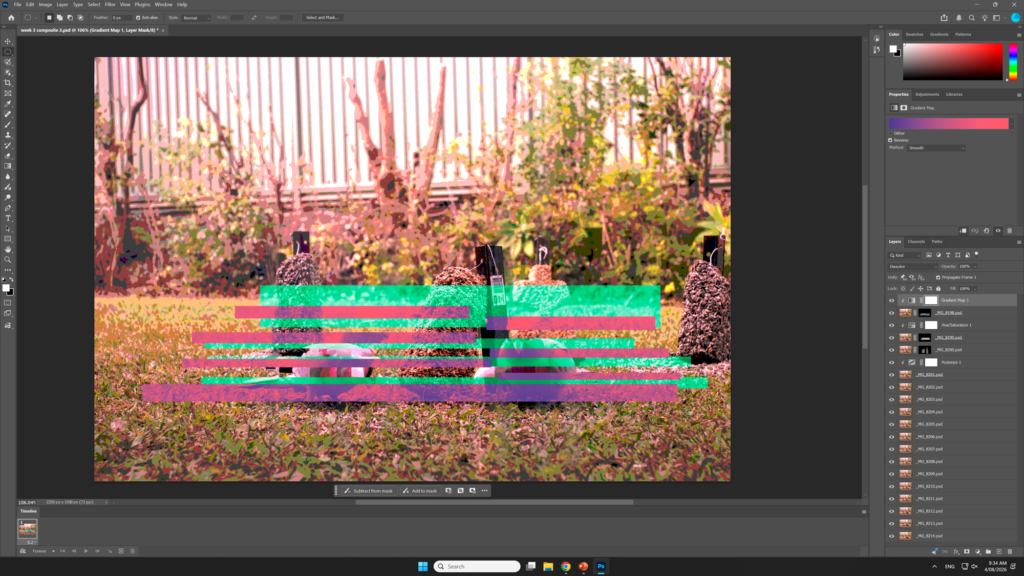
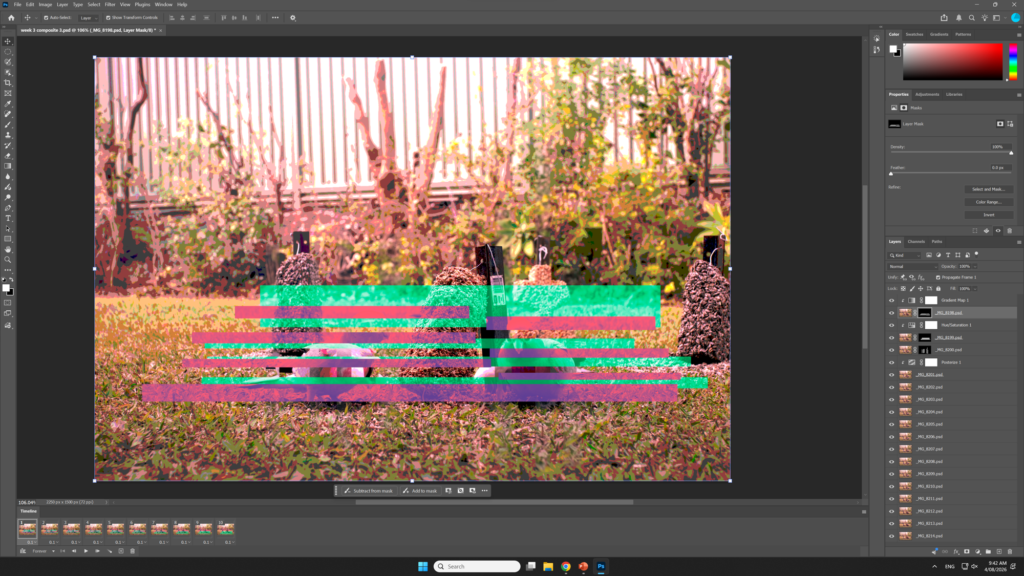
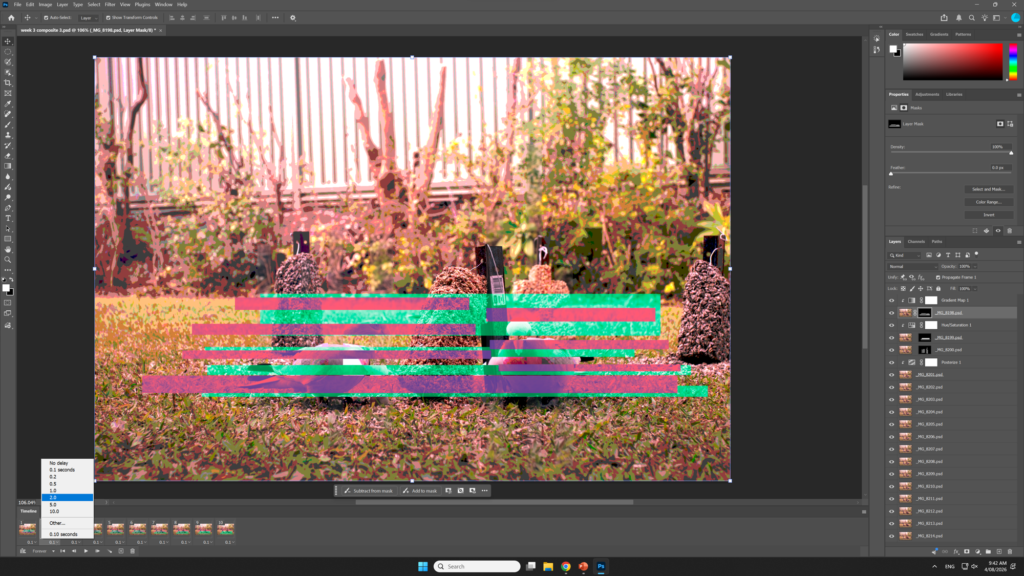
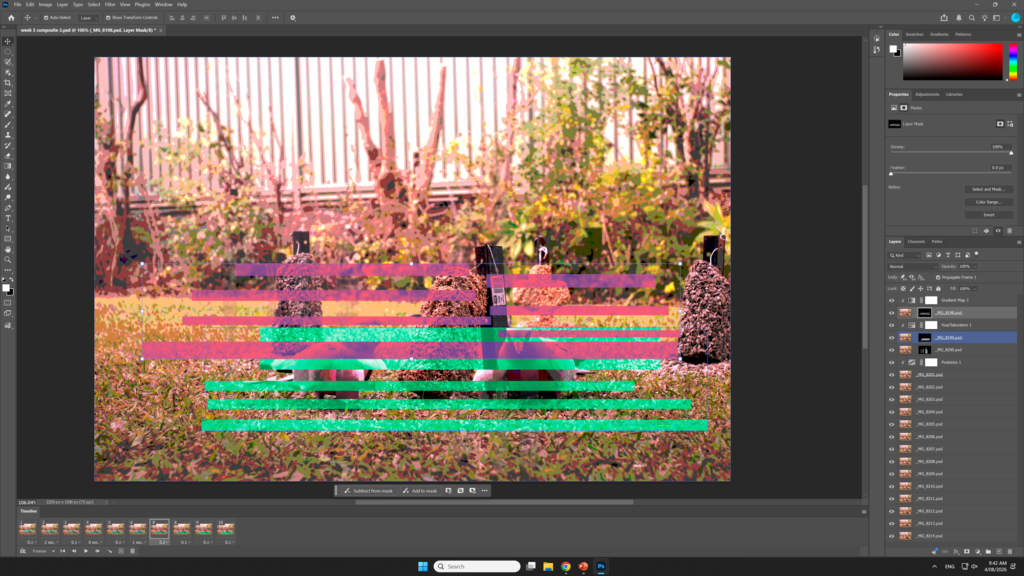
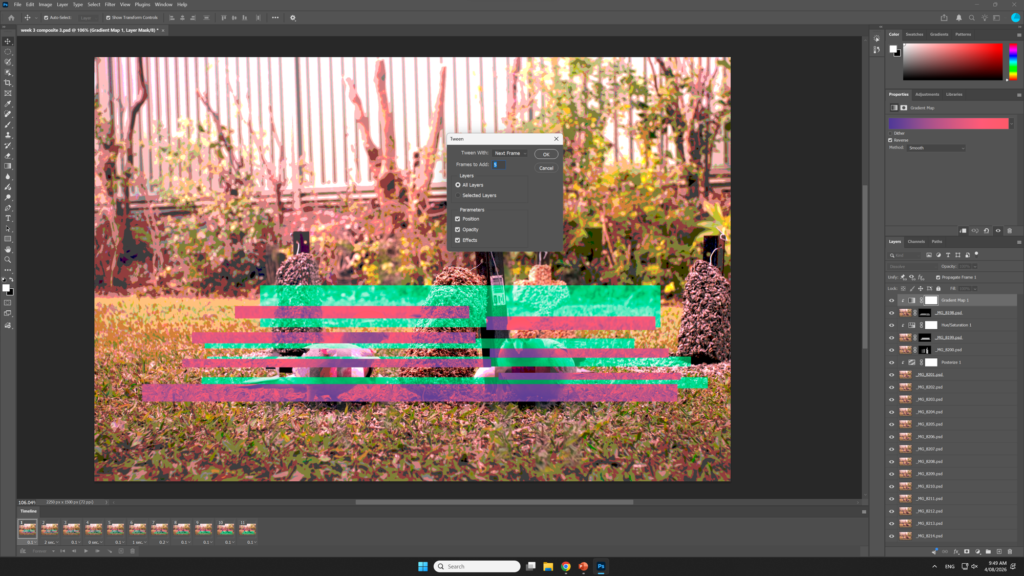
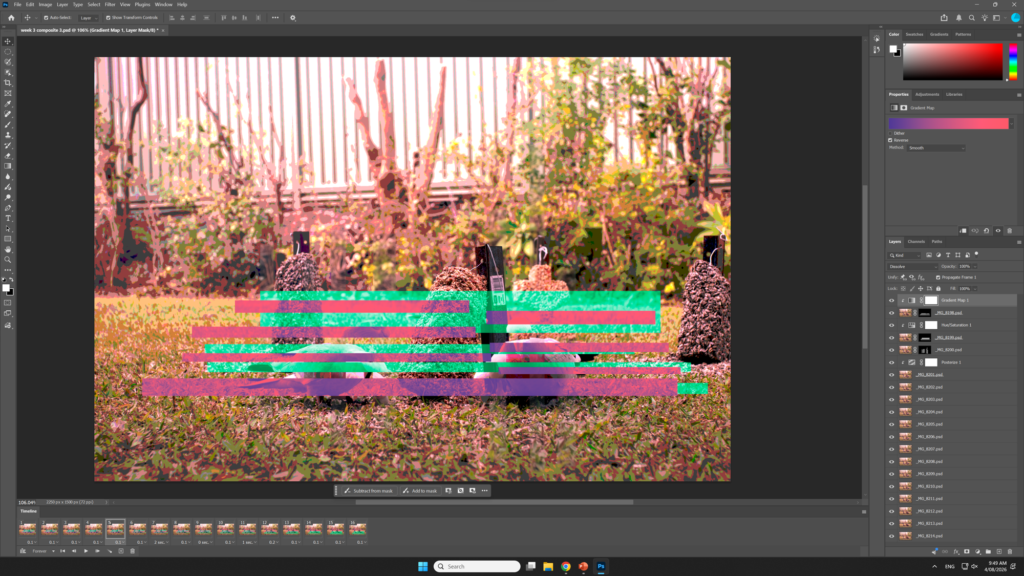
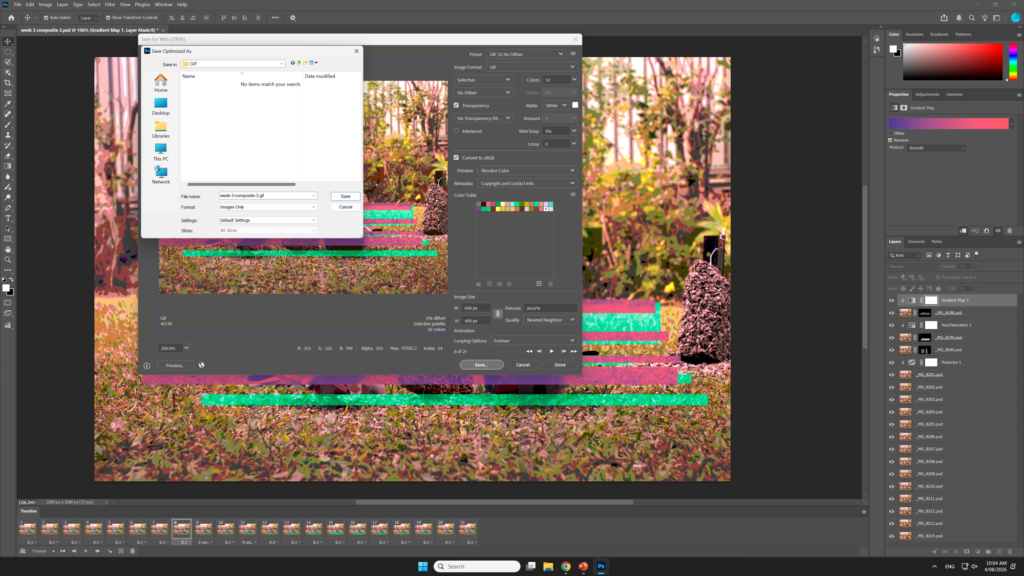
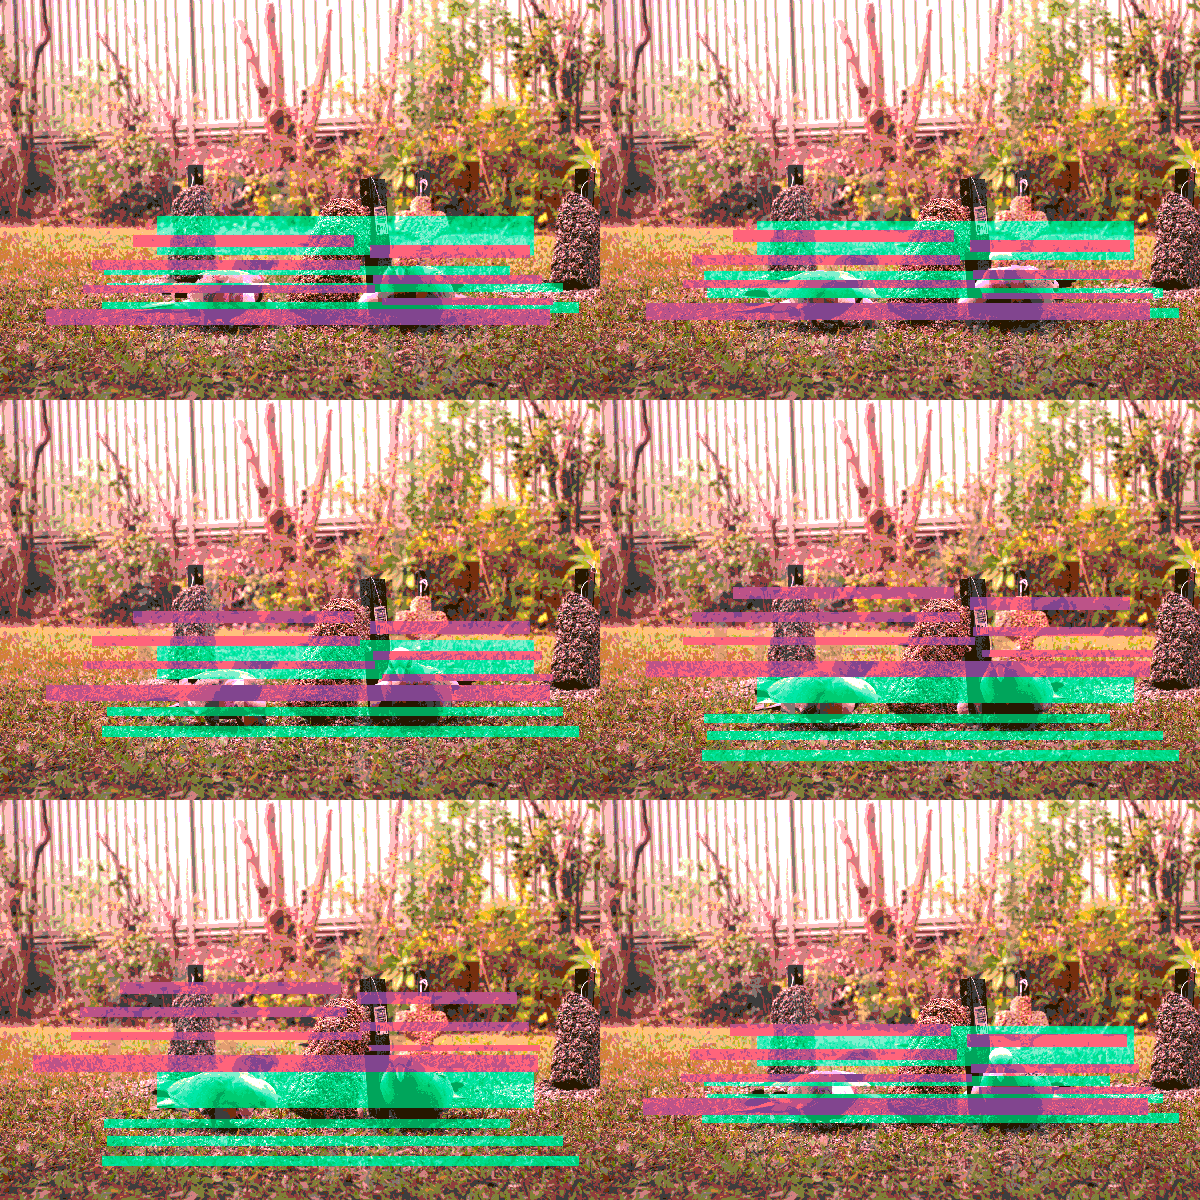
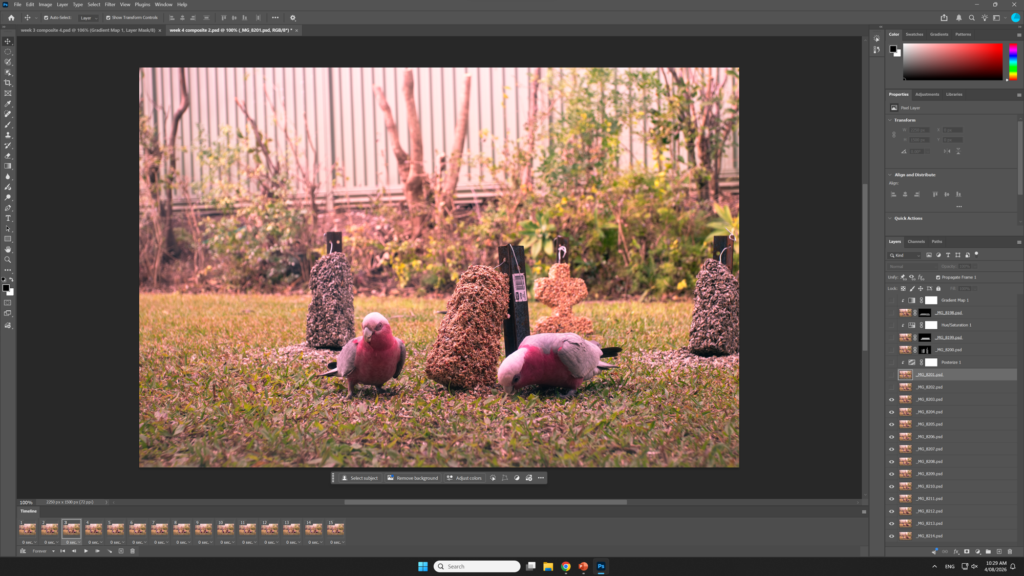
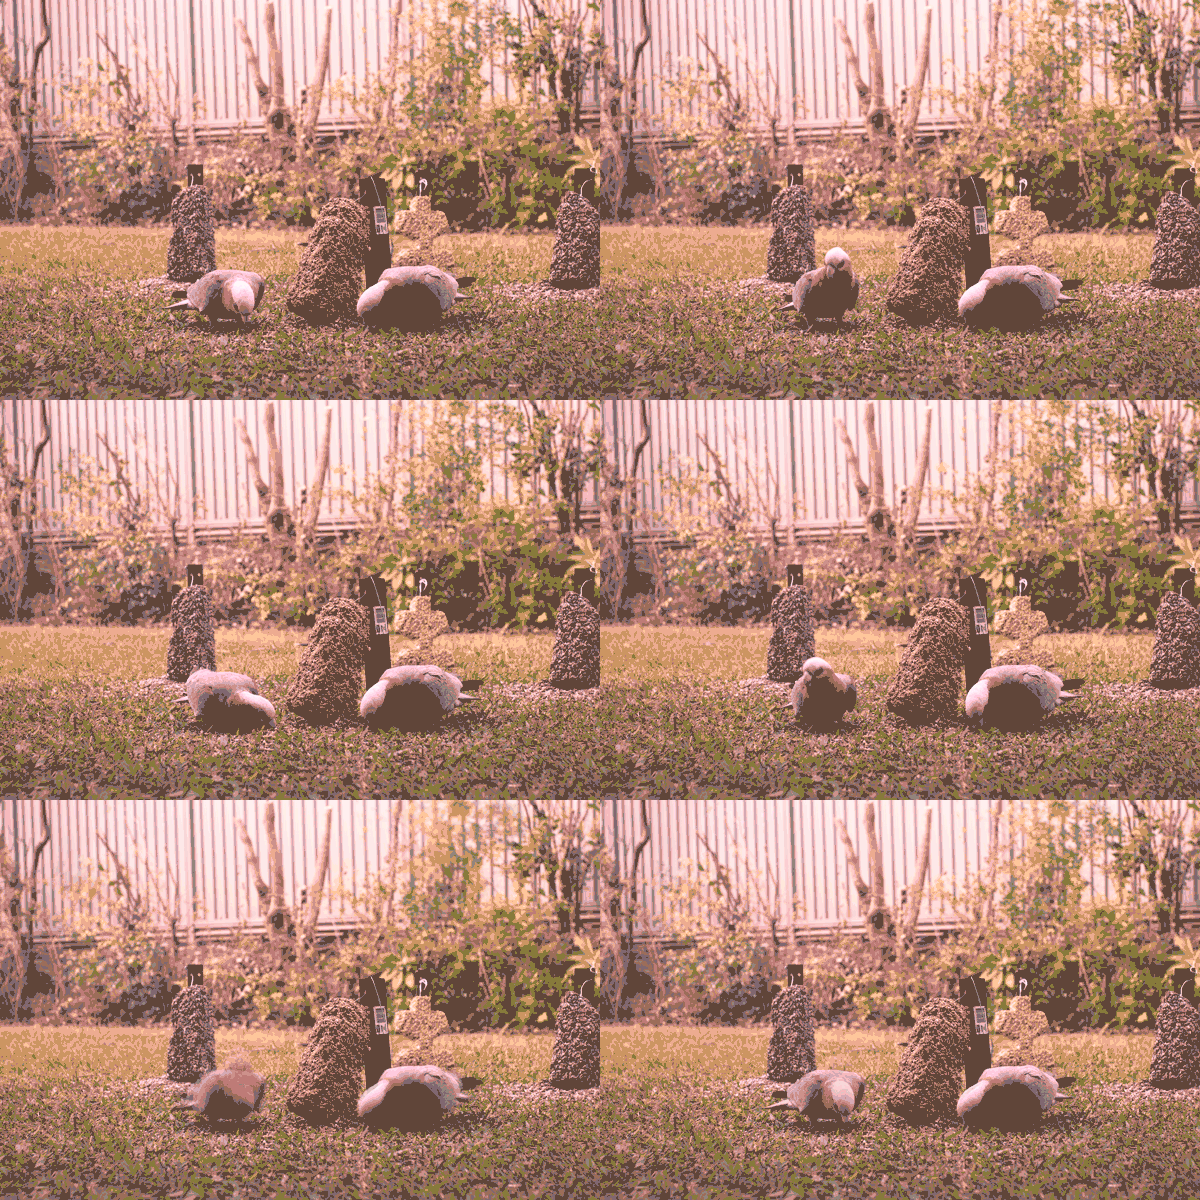
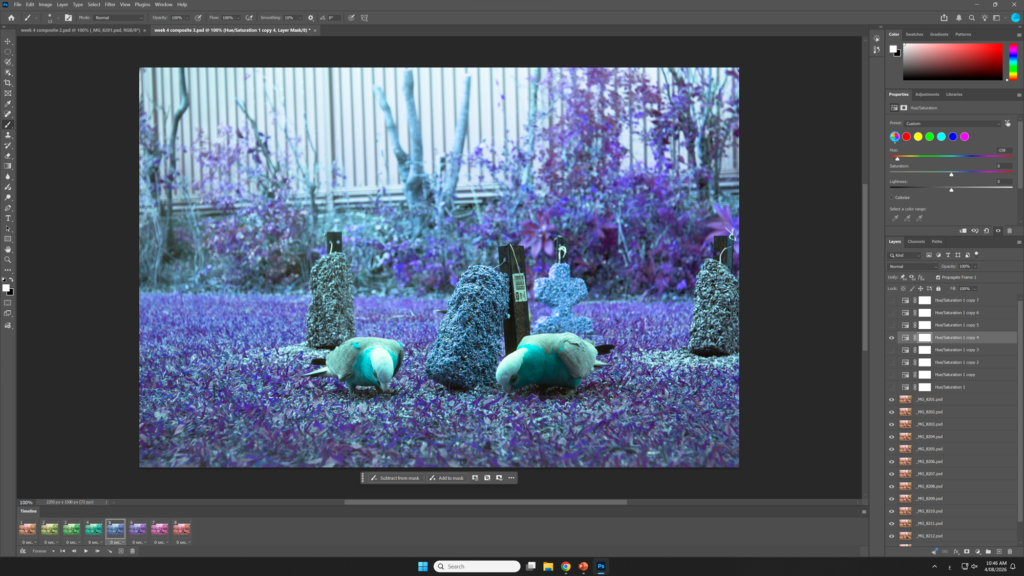
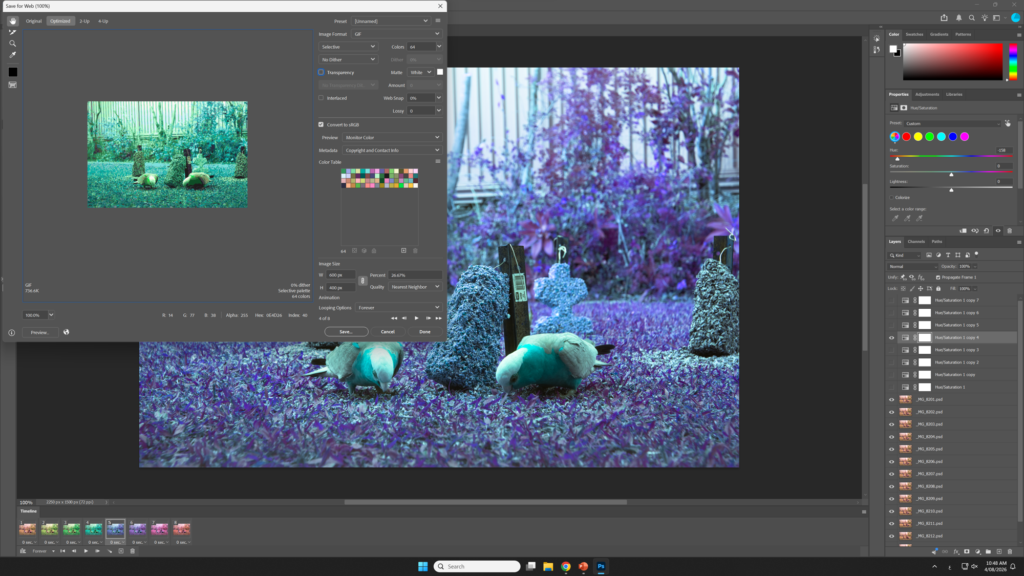
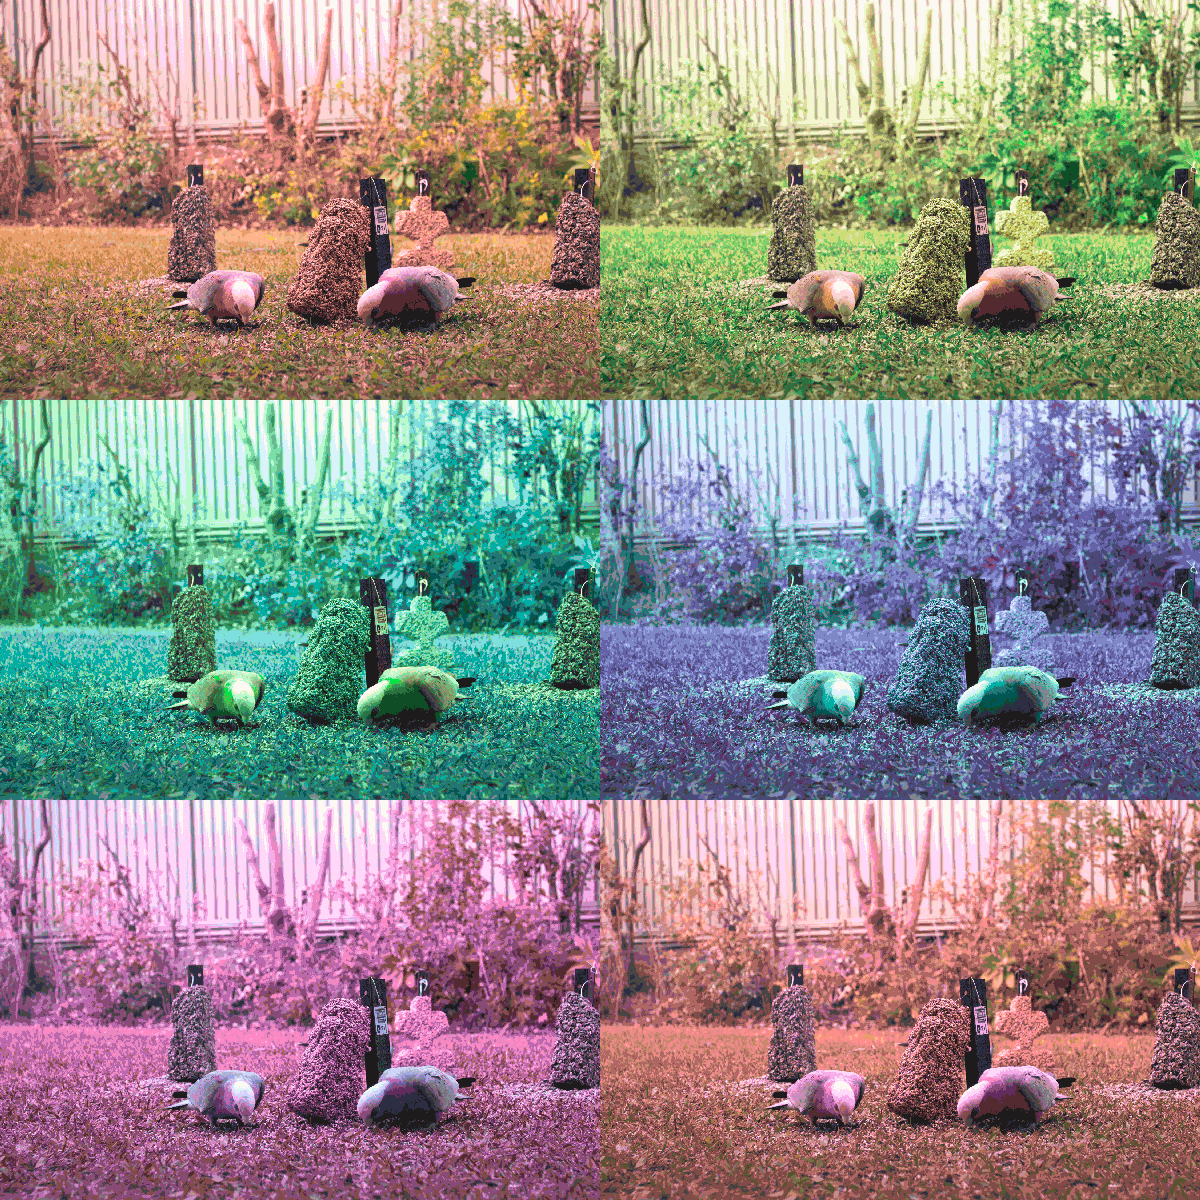
Using the timeline panel in photoshopAdding multiple framesExperimenting with frame lengthCreating a unique frame using the transform toolCreating a tween to make a smooth animation New interpolated frames from the tween function Exporting the animation as a gif for the webAnimated resultExperimenting with changing images each frameUsing hue and saturation to animate the photo’s coloursFor this animation I had to increase the number of colours to 64 as 32 was too limited for this particular animation
Week 05 Image sequencing in After Effects
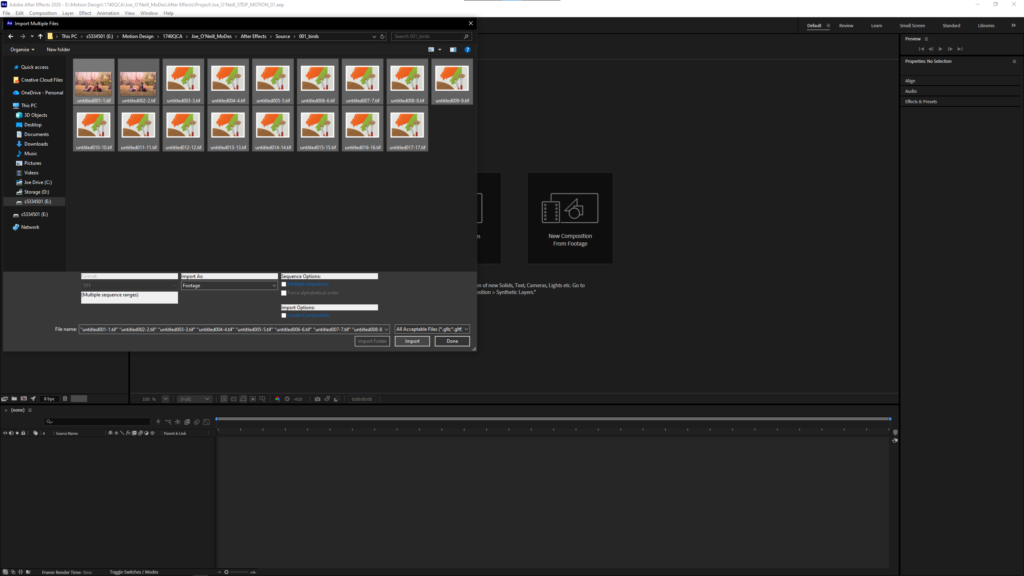
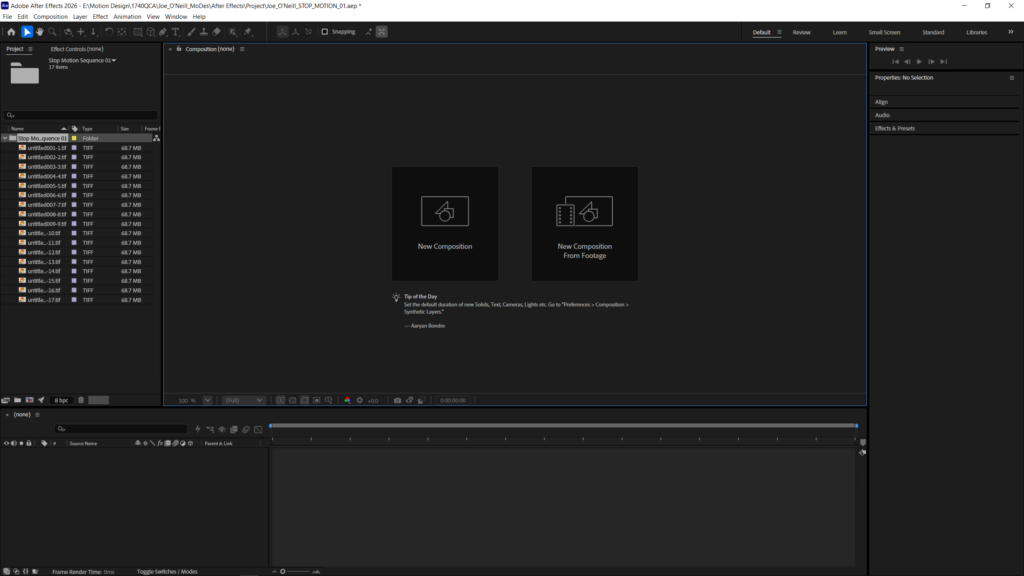
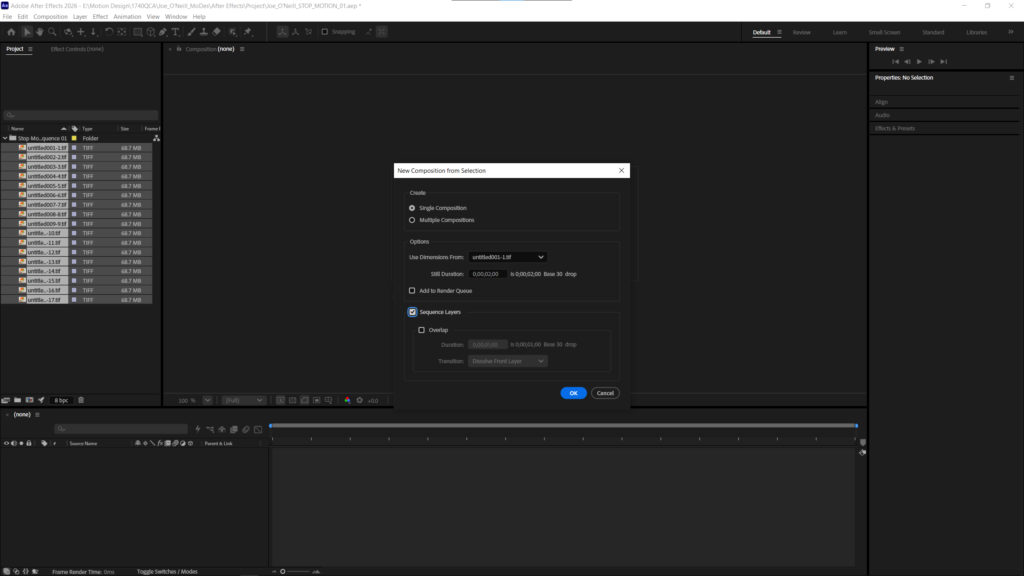
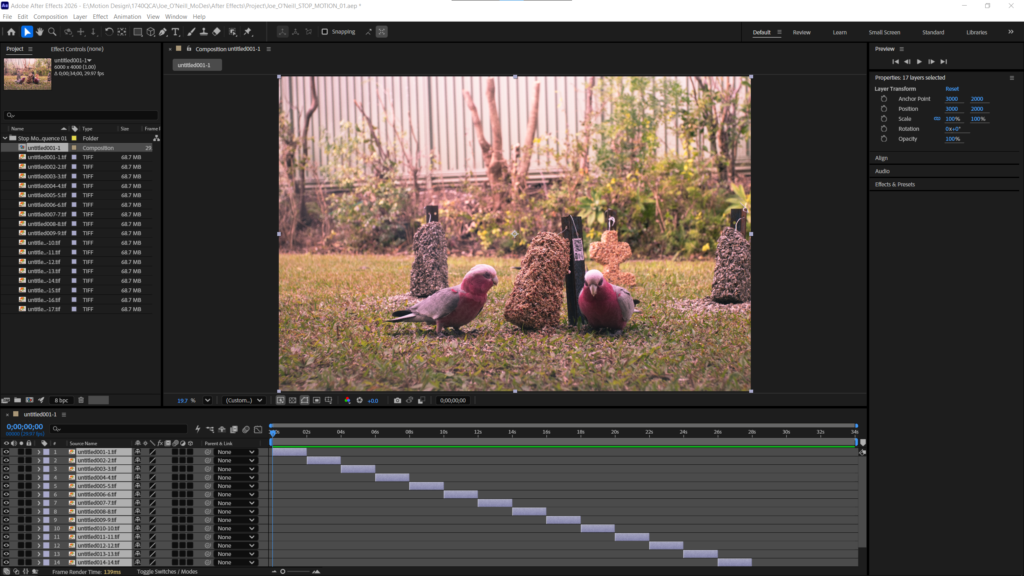
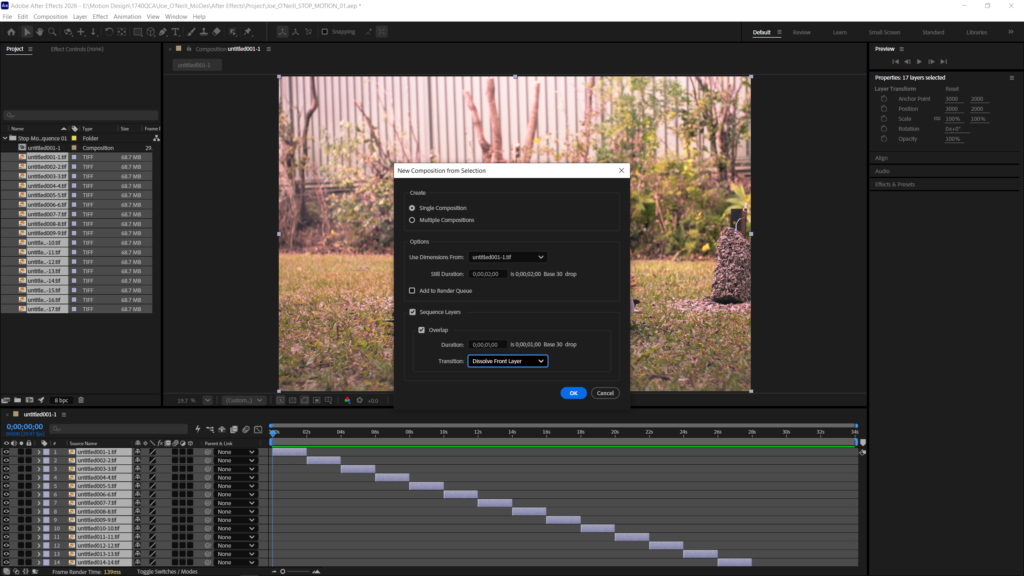
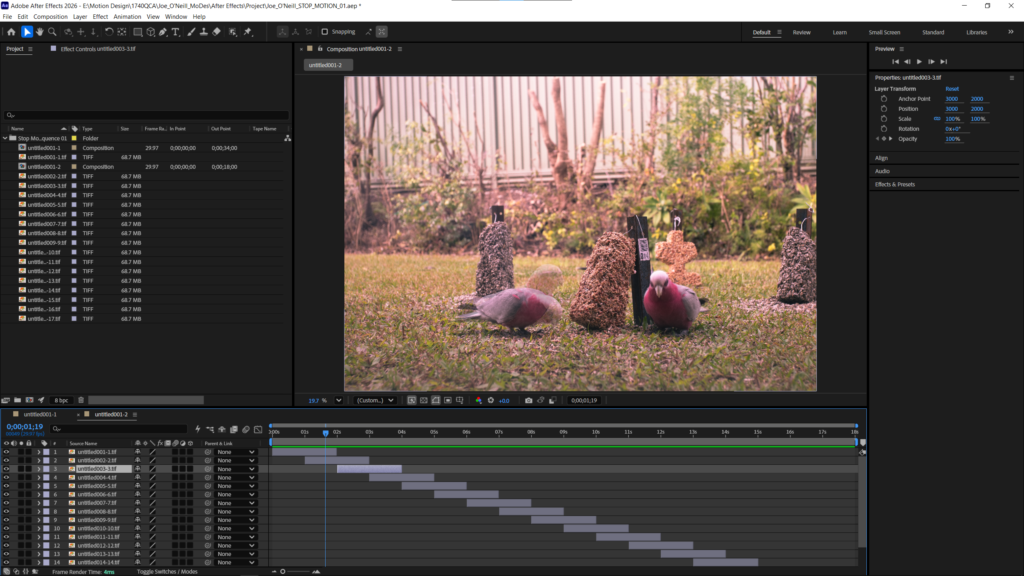
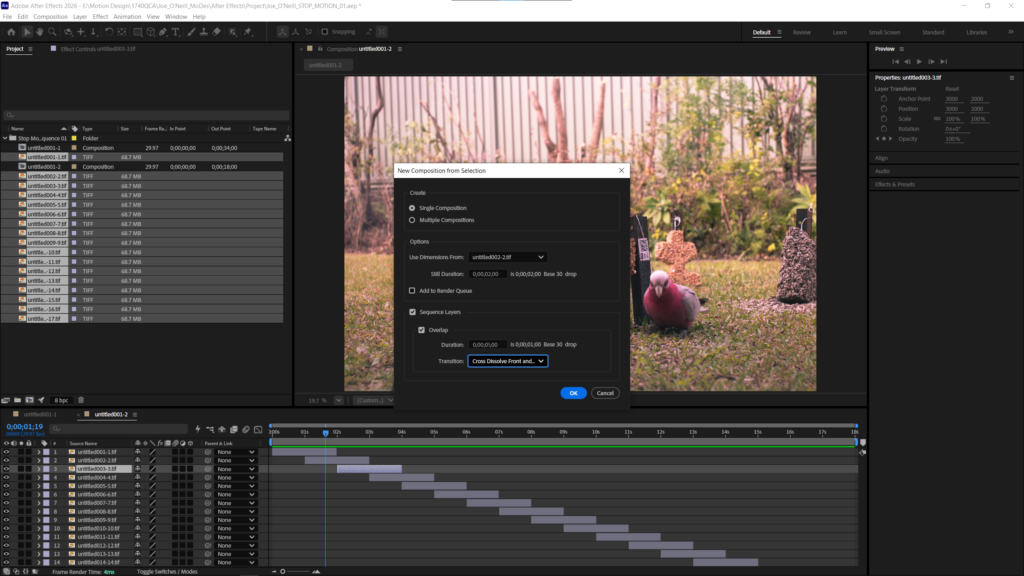
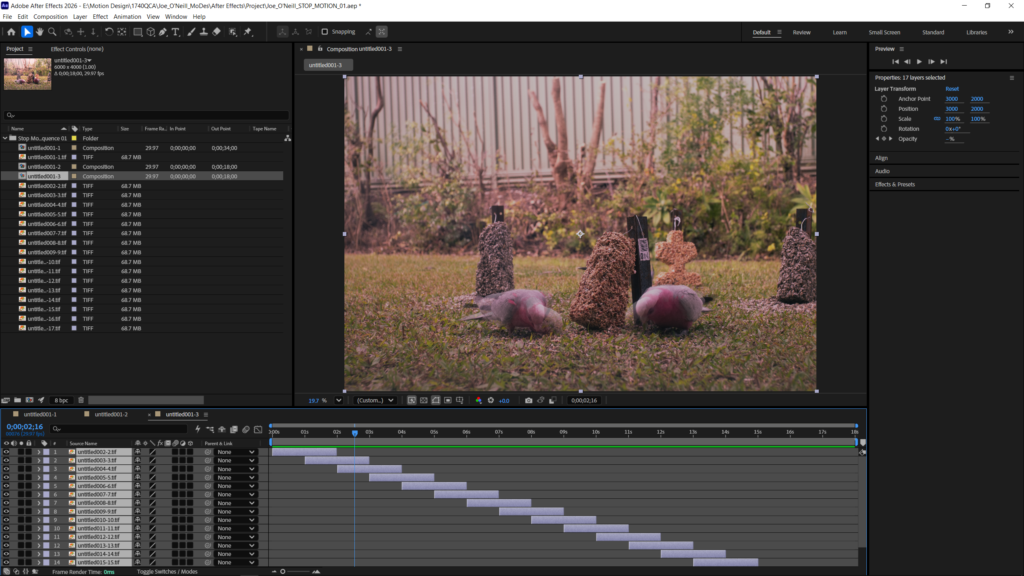
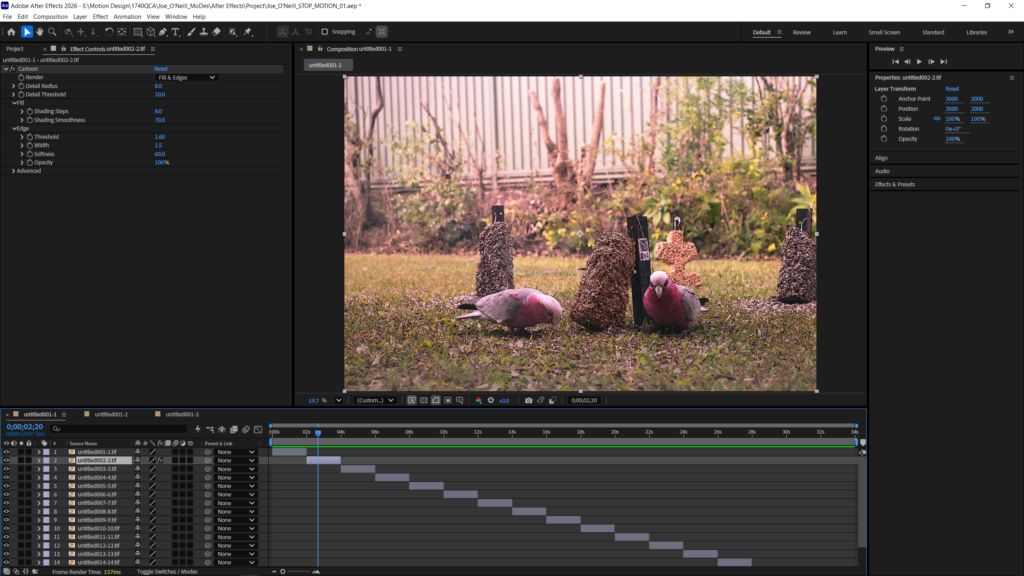
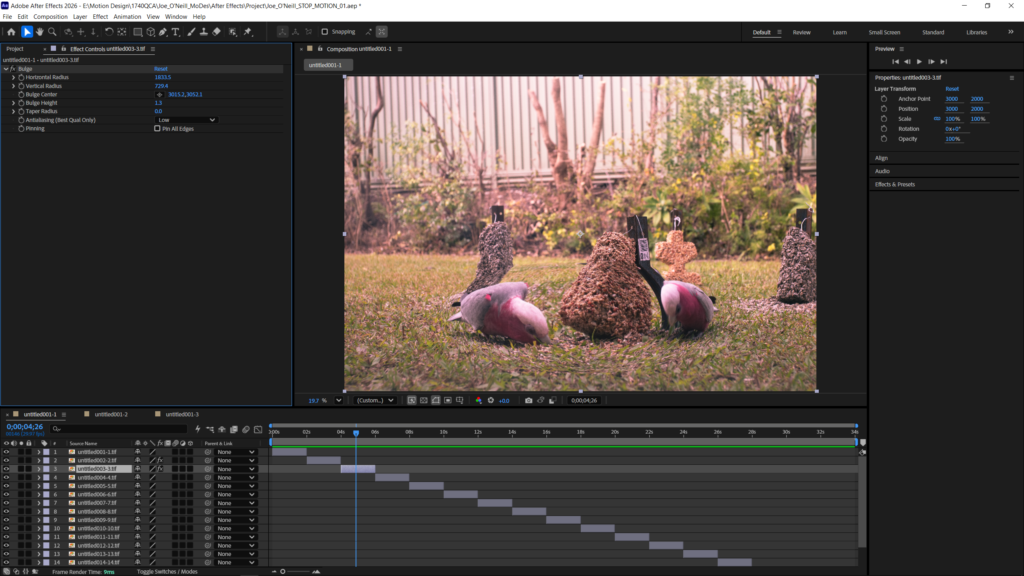
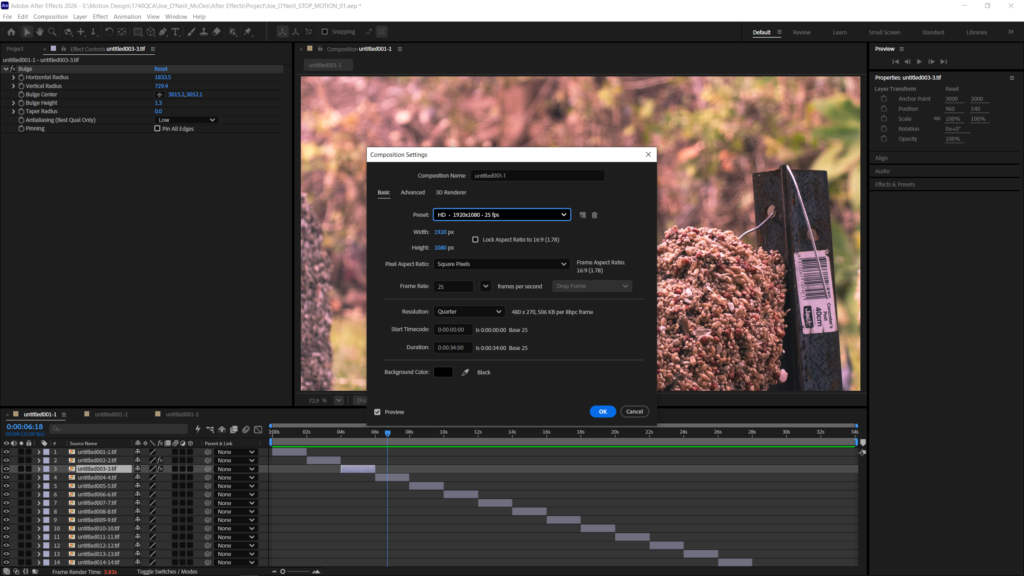
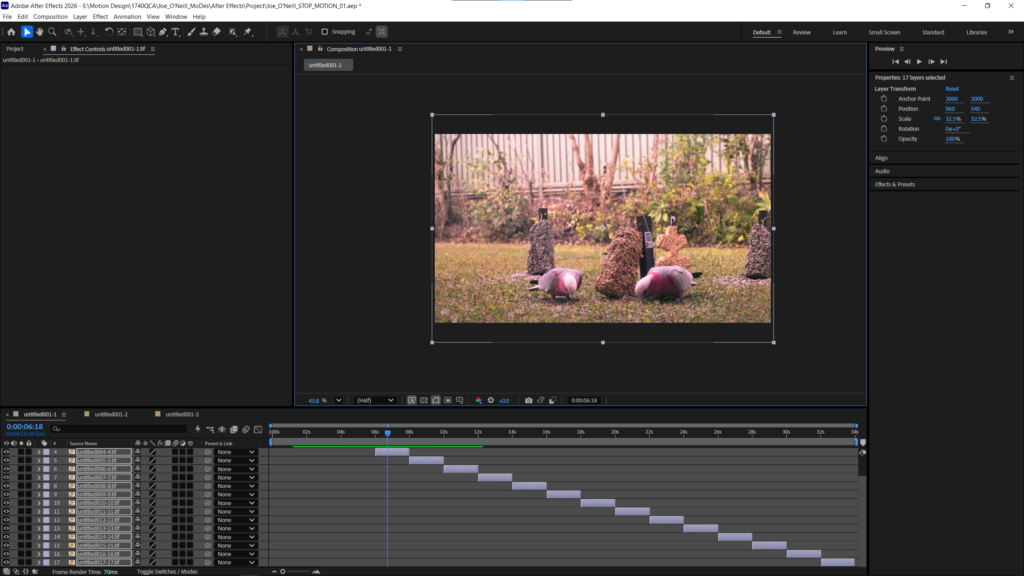
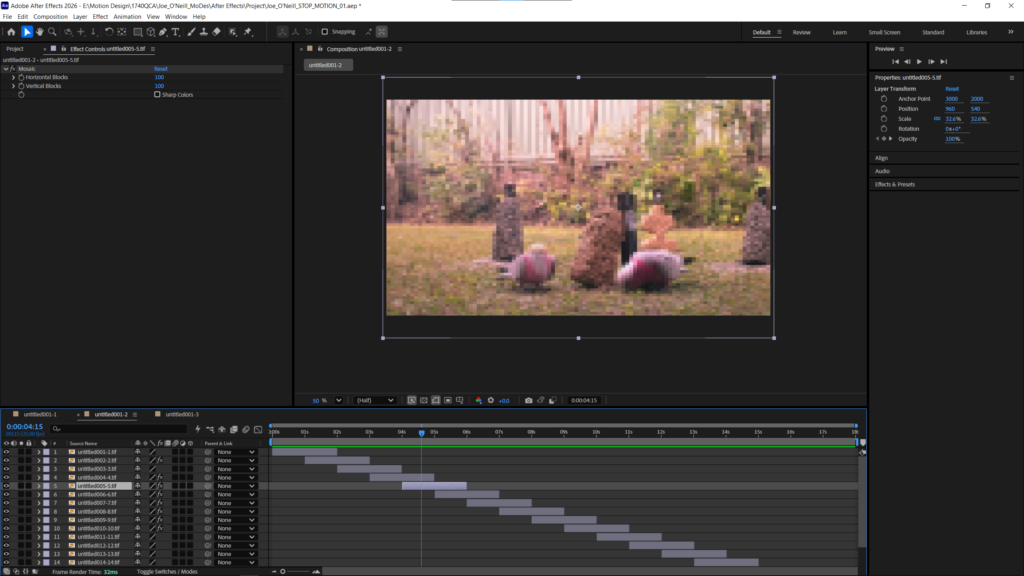
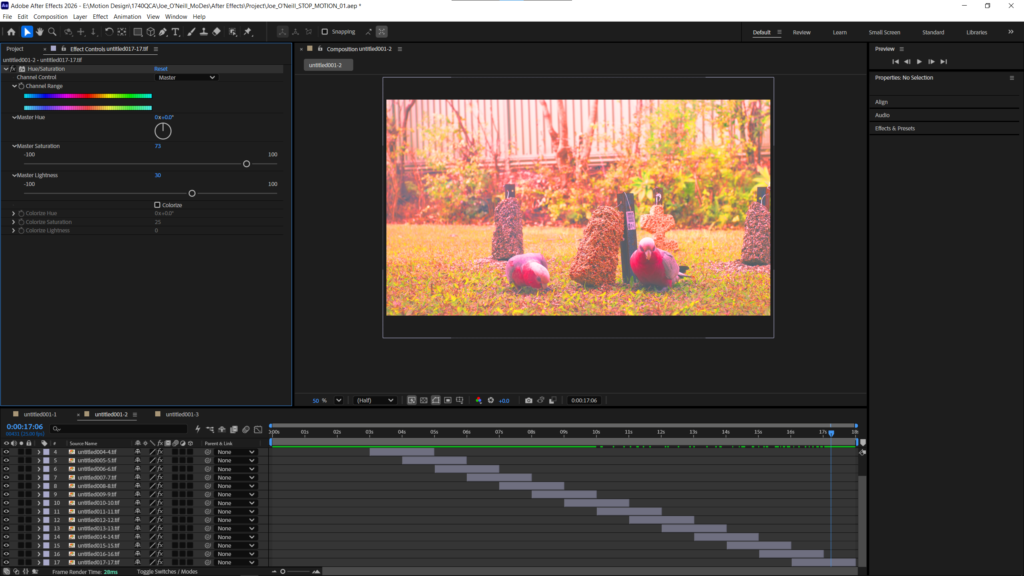
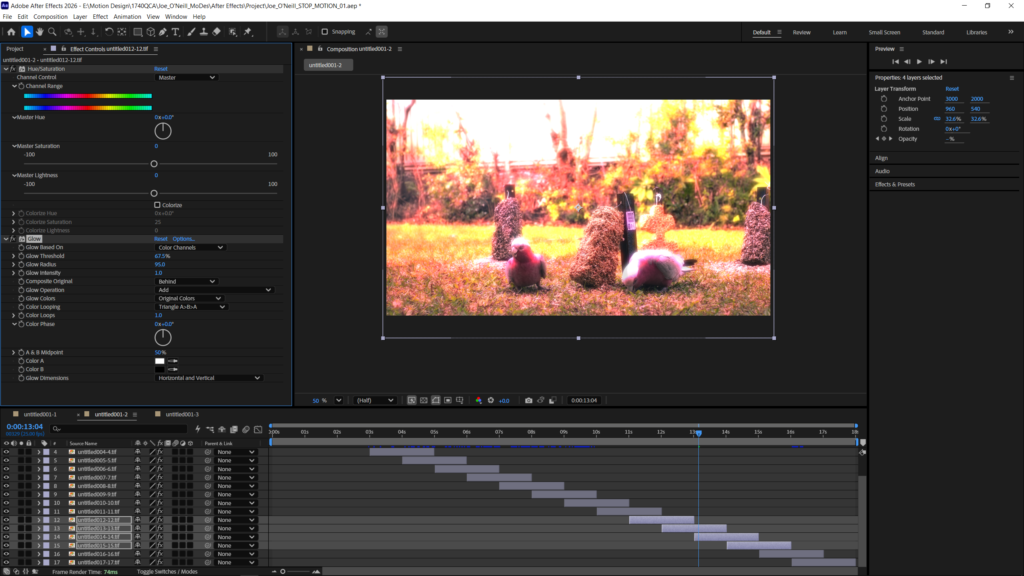
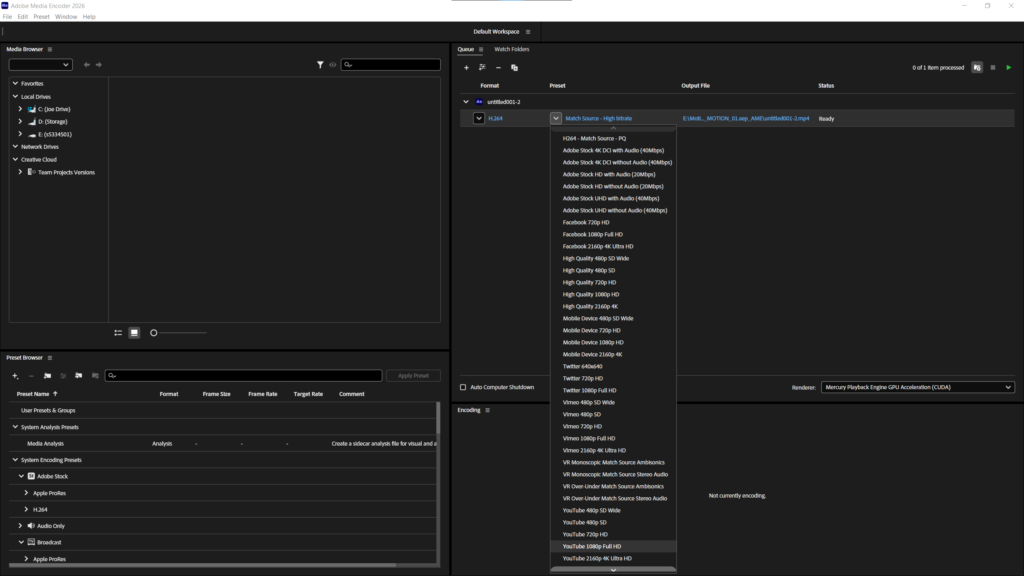
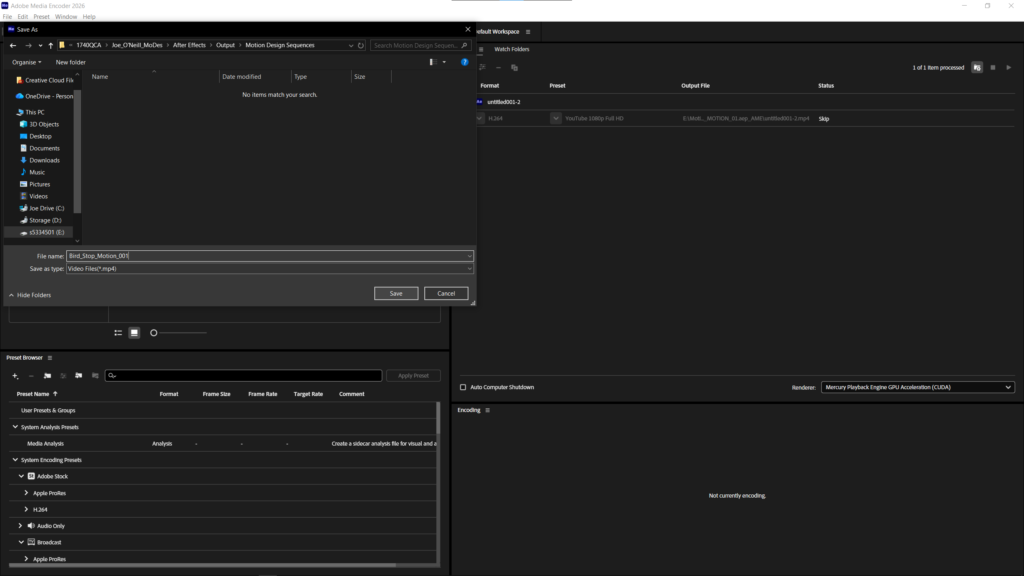
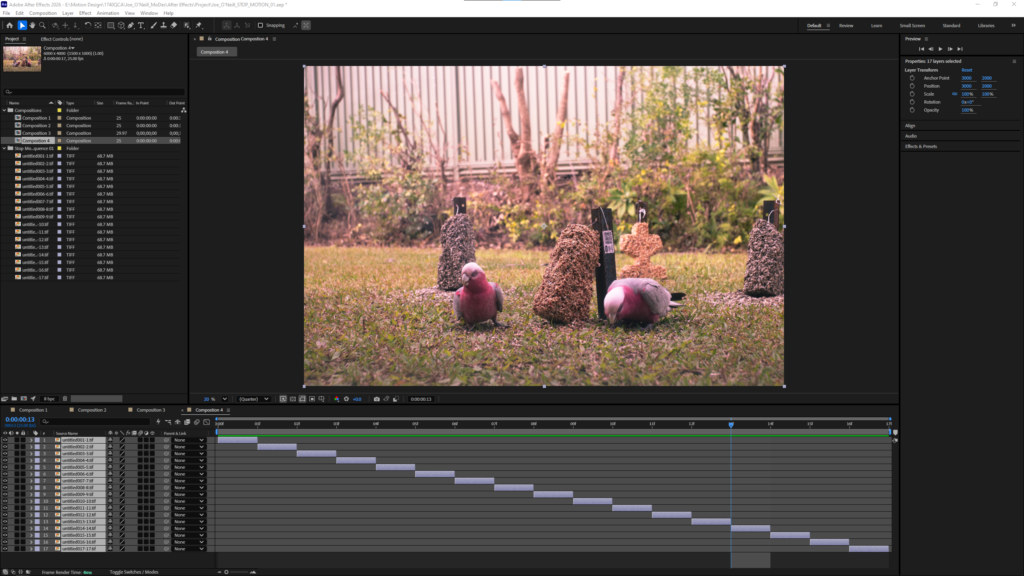
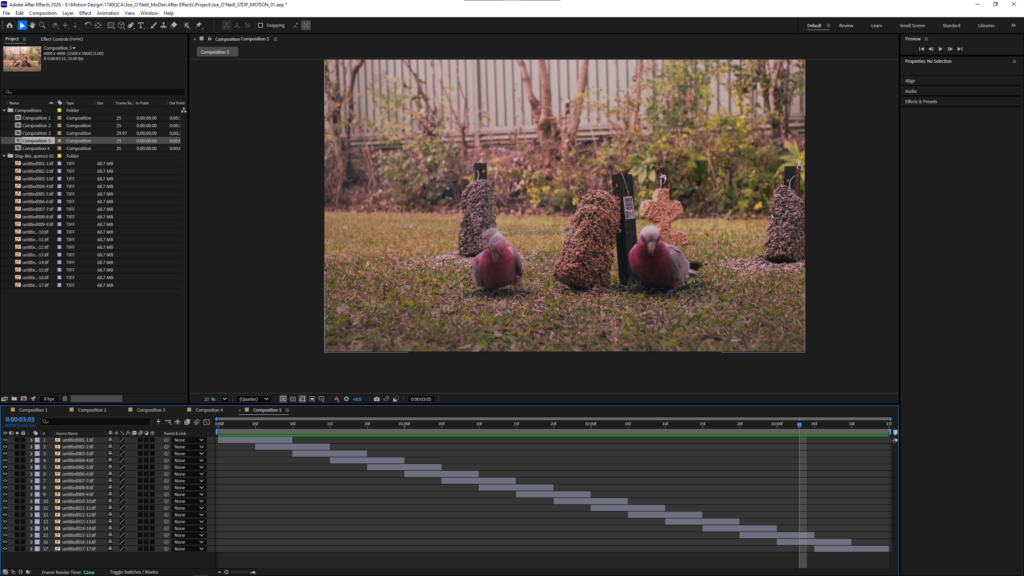
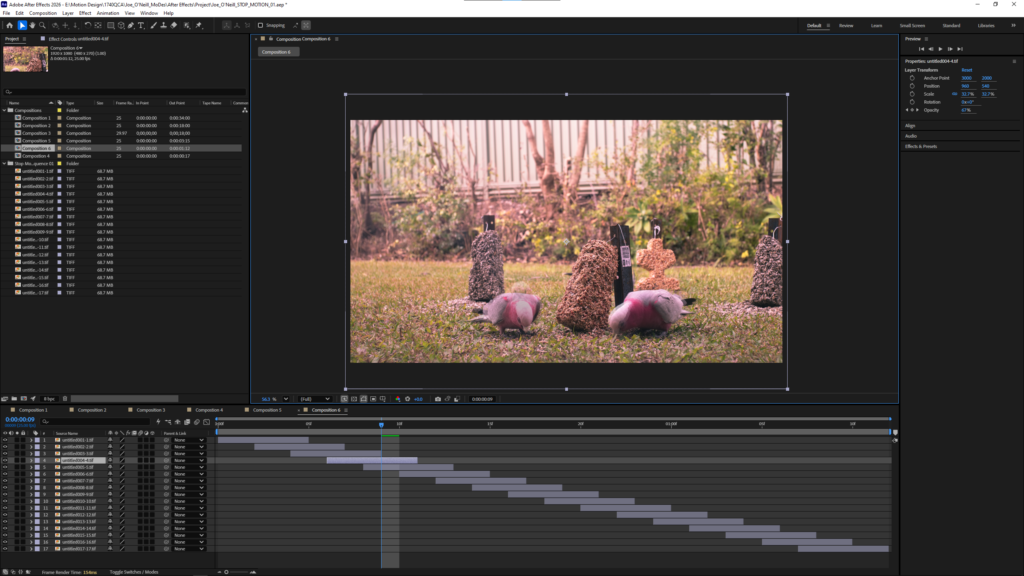
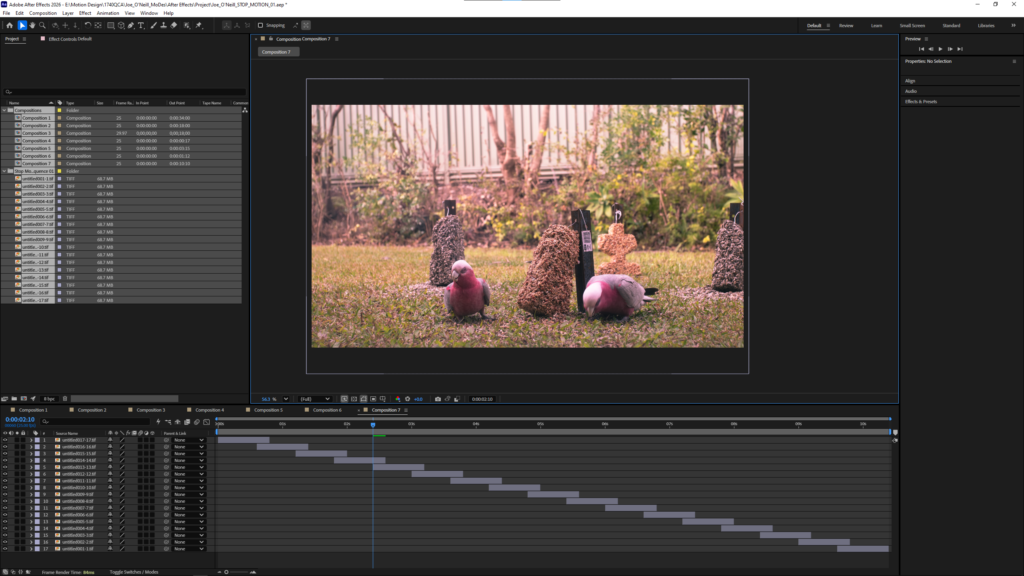
Exporting the image as TIF files to be edited in after effectsImporting the tif files into after effectsMoving the files into a folder in after effectsCreating a new compositionResult of the new compositionExperimenting with the different transitions Creating a composition with cross dissolveExperimenting with effects by adding a cartoon filter on the frameAdding the bulge effect on a frameResizing the composition for YoutubeUsing the transform tool to shrink the images into frameMore experimentation with effects Changing the preset in media encoder so that it can be uploaded to youtubeSaving the file
Animation 1 New composition with each image lasting one frame
Composition with each frame lasting 10 frames with 5 frames of cross dissolve overlap
Composition with 5 frame sequence and 3 frame front dissolve
Composition with 20 frame sequence and 5 frames of overlap with no transition
Reflective Report
Throughout the past five weeks I have developed a strong understanding of the software used in this course and understand how they operate together in an integrated whole. By creating my own database, I have learned the importance of clear folder structures and file names. In the past, I would not have been so diligent with my folder structure. This might have been fine in smaller projects, but I see now when working with bigger projects how difficult it would become to manage the files with how quickly they add up. I have also learned the fundamentals of lens-based imagery and an understanding of colour management. I now understand the importance of choosing the adobe RGB colour space when capturing photos and how the choosing the correct colour space allows me to colour correct in greater detail. Before starting this course, I already had a strong understanding of photoshop and how to use it’s tools. However, this course taught me how to use the timeline to create frame by frame animations. Initially, the timeline confused me as it was different from other animation software I’ve used before. However, I eventually came to understand it once I realised how the adjusting the layers affected the frames. Likewise, learning to create animations in After Effects was also initially confusing as I’ve never used this software. After using it to create several animations I am now confident in importing image sequences and making adjustments to the frame rates, overlaps, and effects to create my own unique animations. Overall, after completing the tasks, I believe I have developed a strong baseline understanding of the software covered so far, providing a solid foundation I can continue to build on in the future.